A Headless Body Production
Venue: An Undisclosed Basement
Event: Just messen around
Theme: Medieval
Players: Phil Gardocki running Condottieri
Dennis Shorthouse running Condottieri
Game System: L'Art de la Guerre v3, 15mm, 120 points per side.
The Forces:
Italian Condottieri
Commanded by Larry of Rimini, the Competent and Darryl, the Ordinary
6 Men-at-Arms, Heavy Knight, Impact
2 Light Cavalry, Crossbow
1 Light Infantry. Crossbowmen
1 Light Infantry, Handgunner
1 Mercenary Pike
1 Halberdier, Heavy Swordsmen, 2HW
Breakpoint, 12
Italian Condottieri
Commanded by Carmagnola of Venice, the Strategist and <insert a name here>, the Brilliant
6 Men-at-Arms, Heavy Knight, Impact
2 Turks, Light Cavalry, Bow
1 Stradiots, Medium Cavalry, Impact, Elite
2 Light Infantry, Handgunner
1 Levy
Breakpoint, 13
A note on annotations. When you see a word bubble "Ouch!", ("Ausch!", "Aie!") this implies a missile hit.
Letters in parenthesis represent some value change for the specific unit. For commanders it is b for Brilliant, c for Competent and o for Ordinary, u for unreliable. For troops it is e for Elite, and m for Mediocre. Other abbreviations, Hvy Heavy, XB Crossbow, LB, Longbow, Jav Javelin, 2HW 2 Handed Weapons, B Bow, Kn Knight, HKn Heavy Knight, HC Heavy Cavalry, Md Medium, Sgt Sergeants, LC Light Cavalry, Chr Chariot, Cat Cataphract, Pa Pavise, LI, Light Infantry, HG Hand Gun, FKn Foot Knight, Hvy Spear, Heavy Spearmen.
"XX" marks a unit killed in that location on that turn.
"????" is an ambush marker, and so it is unknown at this time.
Scores are presented in a confusing manner. This is because it is measured in number of points towards the demoralization. If I say the score is 15-8 in favor of Milan, that means the Burgundians are have 15 points towards their demoralization level of 19, while Milan has 8 points towards their demoralization level of 20. But saying 15-8 is just more intuitive.
Dennis Shorthouse, Proprietor of On Military Matters book service., has organized an another tournament using a battle grid system of his devising. All figures are place on a grid so players can play over a telephone without a video component.
The board is 15 by 20 UD's. The rows are labeled H - A. Each side has their own H-B, and the A row is divided in half. The columns are numbered 1-20. Terrain sizes are 2x3.
The Board:
 |
| Along the Via Venezia to competing sets of contractors meet to discus establishing a monopoly of mercenaries. |
Condotta literally means "Contract", so the Condottieri is plural meaning Contractors.
 |
| The great Carmagnola himself will be taking up the negotiations for his Condottieri |
 |
| His position is wide, taking up most of the deployment area from Via Venezia to the lightly fielded hill. |
 |
| Larry of Rimini has a much more focused position. |
 |
| Mar's view from the sky. |
Did you ever make a simple deployment error, that you know is wrong, but went with it anyway for convenience sake? I did here. The pike on the far right of the line. I put it there initially to challenge the elite Stradiots. But a minute or two later I realized it was a mistake. Any knight could beat the Stradiots so why use the pike? The pike are much better as a blocking force. But, this was a game played across the wire, and I didn't want to change things.
Turn 1:
 |
| Darryl rolls a 1 for command points and only moves his knights and halberdiers. |
 |
| Larry rolls a 6 for command points and wastes a couple. |
 |
| An ambush is revealed! <insert a name here> marches down the hill |
The Venetian Condottieri are being represented by Byzantines. I don't have that many knights , and this keeps the figures straight in my mind.
 |
| <insert a name here> takes up a position on Carmagnola's right flank. It is now 6 knights on 6. |
Off frame on the far right, the Larry's lights advanced too far. They are surrounded, caught and destroyed.
Turn 2:
 |
| Darryl rolls another 1 for command points. He sends hopeful words to his Halberdiers and they rejoice! Then advances his knights. |
 |
| Larry rolls a 6 for command points and responds to the destruction of his skirmishers. Knights charge the Stradiots, with support from hand gunners. Meanwhile, the pike advance to finish the job if necessary. |
 |
| The Venetian handgunners have their range and shoot again. |
<insert a name here> is setting up a hammer and anvil attack should Darryl advance any more.
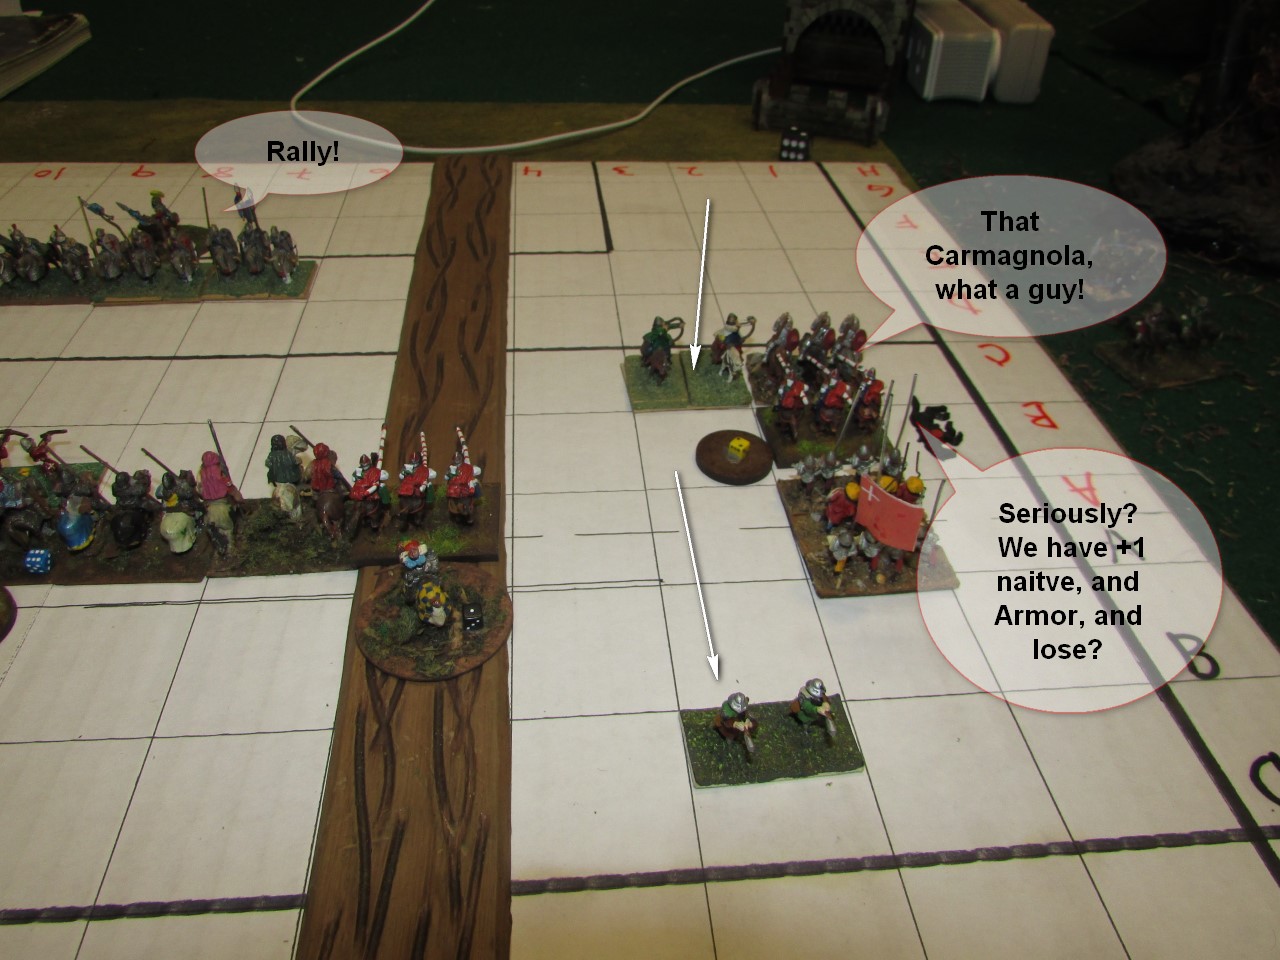 |
| Carmagnola holds back his knights, setting the trap. His abundant command points spent rallying his Stradiots, and bringing back his light horse for support. |
The Stradiots roll a 5 to the knights 1. The final score is 7 to 4 for two hits.
Looks like the pike are going to be needed.
Until this turn, I thought I was going to win this fight. I was going to sweep the right, hold the middle, and hammer and anvil his left most command.
 |
| The score is 4-0 |
Turn 3:
 |
| Darryl rolls his next 1 for command points. He retires his knights out of charge reach. |
 |
| Larry rolls another 6 for command points and puts them to good use. He traps the Venetian light horse, then impales them on the pike. His Men at Arms, heavily disordered, manage to avoid defeat. |
 |
| The Venetian light horse thread the needle, and enter the Rimini rear area. Threatening the Halberdiers and the camp. |
The Venetian fireamsmen are on fire! Causing 4 hits in a row.
 |
| Carmagnola springs his trap. But is he not in one as well? |
If Darryl turns around, he could rout the screening knight, which would rout through <insert a name here>'s body guard. The blue flag is the included general. Stay tuned!
Turn 4:
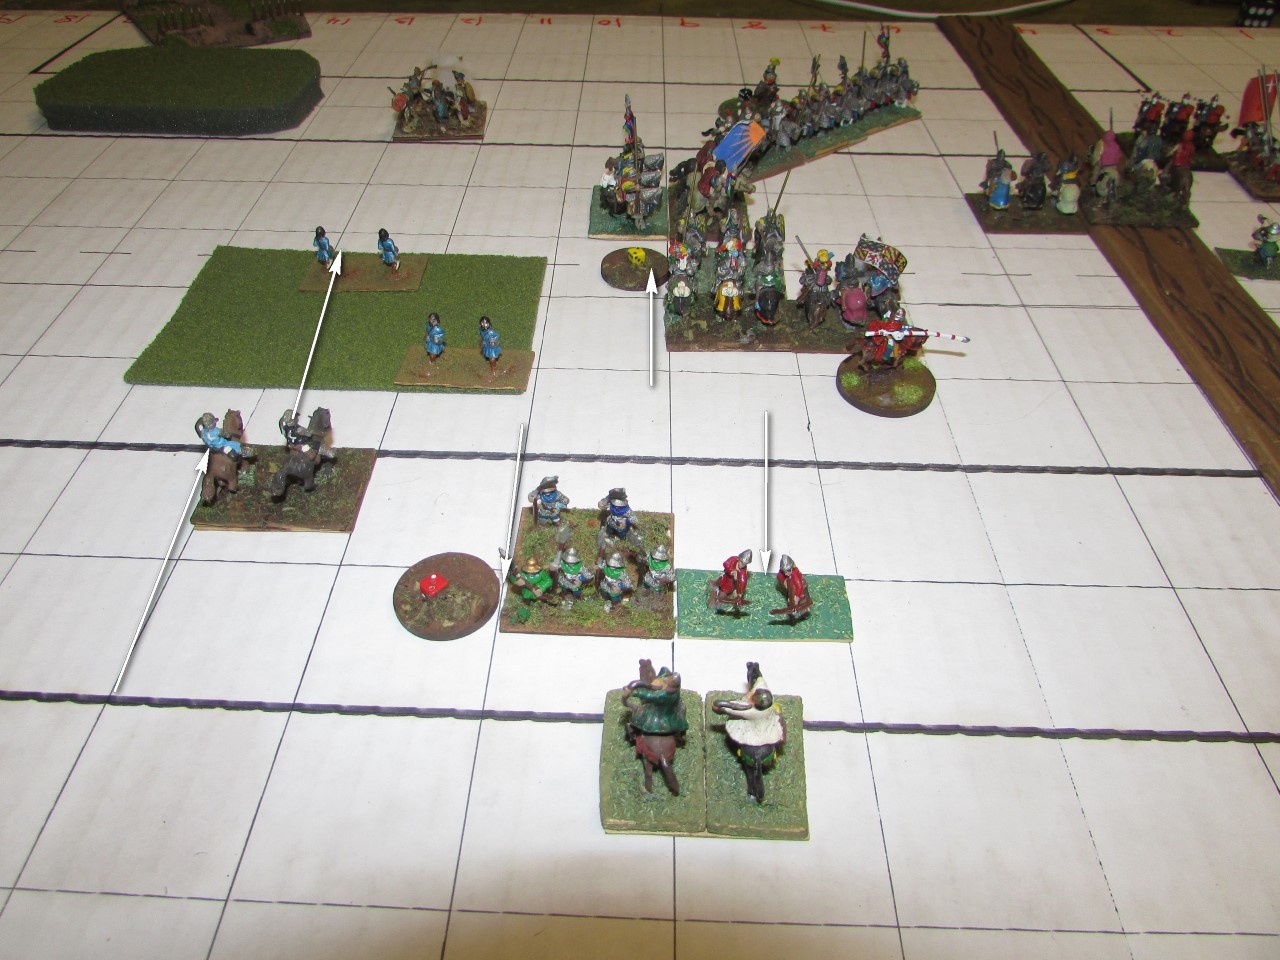 |
| Darryl rolls something other than a 1 for command points. His light horse charges, sending a Fire Arms scurrying. The Halberdiers and supporting crossbow pin the Venetian light horse in place. |
 |
| Darryl turns and charges. Causing devastating damage to the enemy knights. |
I missed by 1 destroying them on contact. Which would have routed through the <insert name here>'s included element for a chance to kill him.
 |
| It is Larry's turn to roll a one for command points. He opts to finish the job, sending the pike in for a flank shot to kill the Stradiots. |
Probably that was a mistake. Time will tell.
 |
| But it seemed like a good idea at the time. The score is now 4 to 5, in favor of the Rimini! |
 |
| The Halberdier charge actually occurred at the top of the turn. |
 |
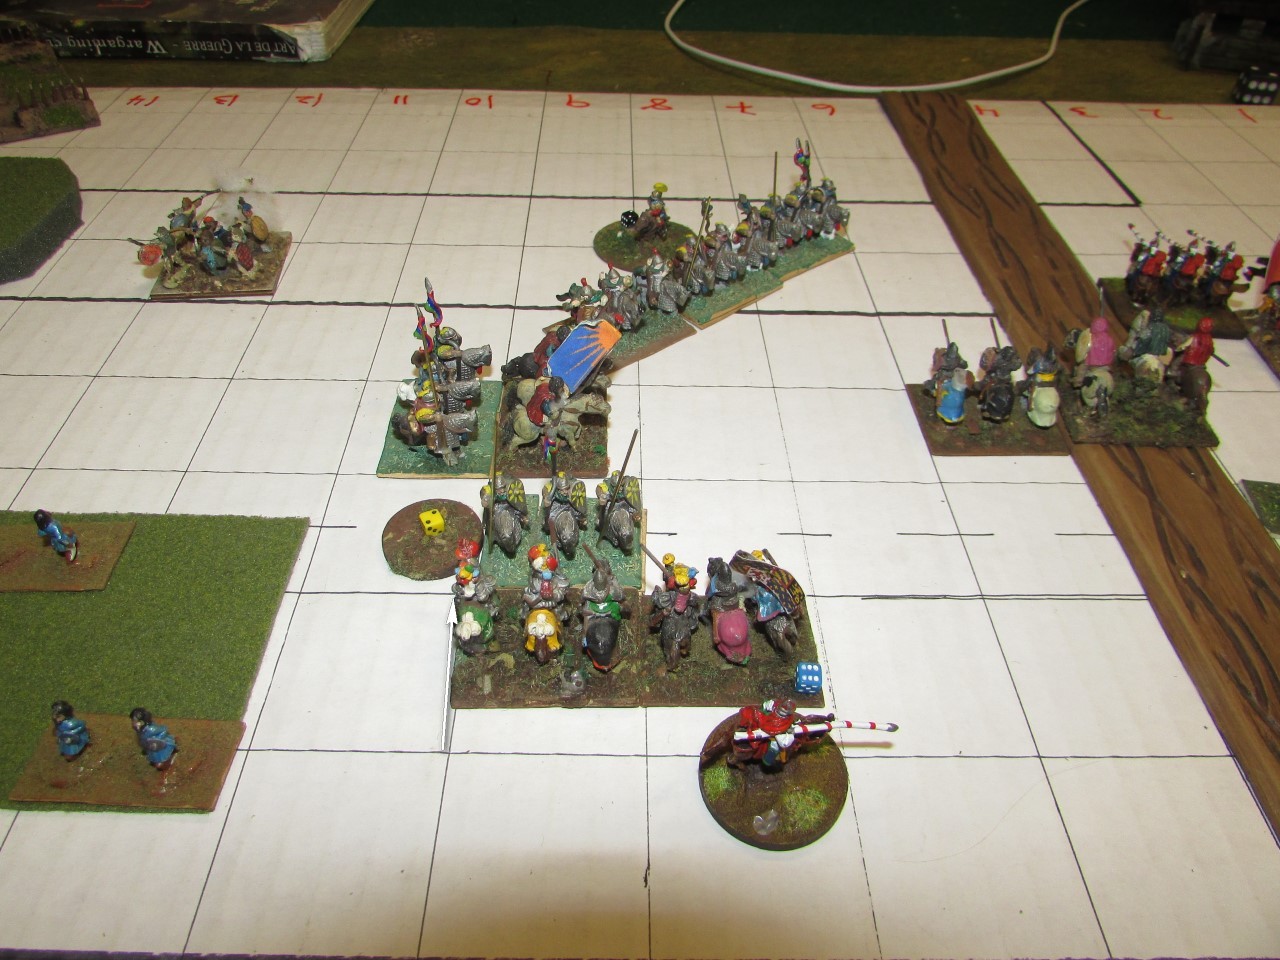
| The air is full of thunders hoofs as charge followed charge. A Venetian knight falls to exhaustion, but another routs Darryl's knights and Darryl with them. <Insert a name here> hits a flank of a Rimini knight and tears them to shreds. |
Turn 5:
 |
| Desperate times calls for desperate measures. Larry goes to the front. If he can survive, he will have a flank shot of his own. |
 |
| The last knight in Darryl's command is surrounded. |
 |
| It is a confusing melee. I put ovals around the Venetians. Larry destroys his opponent. But a knight slips through the gaps, taking the pike in the rear. |
 |
| Bringing these negotiations to a close. The Venetians win, 12 - 10 |
What went wrong?
I mentioned earlier about the pike on the outer right. It's primary job is to serve as a joint for the knights to wheel on and a steady link to the other command. It was instead assigned to run down the Stradiots. So I wouldn't have to send a knight to do the job.
In the end, I had to send a knight to do the job anyway. So it was a tactical win on the right flank, but a strategic loss.
Also, the Stradiots performed well above their weight class, and get the MVP award for the game.
No comments:
Post a Comment