Saturday, May 16, 2020

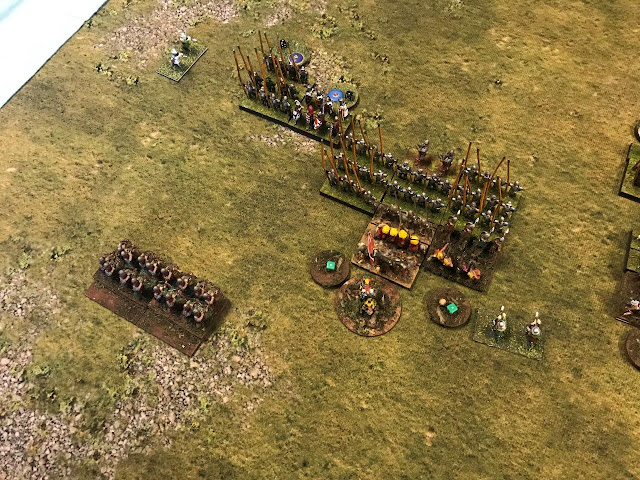
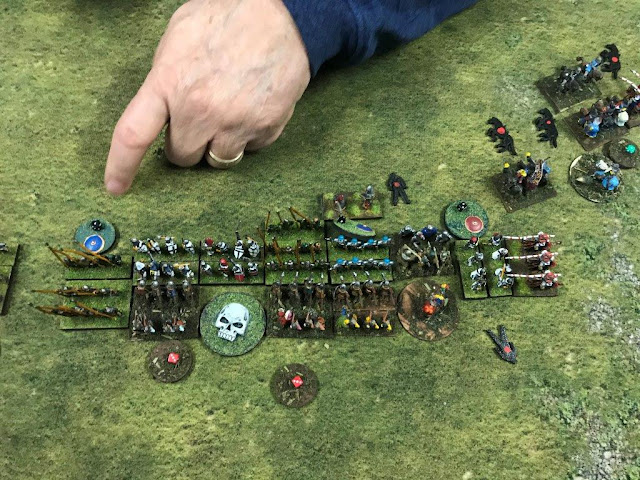
The Battle of Emesa

A Headless Body Production   
Venue: An Undisclosed Basement
Event: Bored
Players: Phil Gardocki running Emperor Aurelian of Rome
               Phil Gardocki running General Azbdas of Palmyra
Game System: L'Art de la Guerre, 15 mm, 200 points per side. 
Theme: Rome and her enemies

The Forces:The Romans are commanded by Aurelian, the Strategist, Marcus Aurelius Probus, the Brilliant, and Darrylious, the Competent.
4 Heavy Cavalry 2 Elite
2 Equites Sagittarii, Light Cavalry, Bow
6 Legionaries, Heavy Swordsmen, Impact, Elite
6 Auxiliaries, Medium Swordsmen, Impact
4 Light Infantry, Javelin
Breakpoint of 23

The Palmyrans are commanded by Azbdas, the Brilliant, Vaballathus the Competent and Antiochus, the Competent.
6 Cataphracts, 4 elite
6 Bowmen
4 Light Infantry Bow
8 Light Cavalry, Bow
2 Illyricani, Light Cavalry, Javelin
Breakpoint of 27

A kickstarter I signed up for from a Place to Play, kicked in and delivered 5 boxes of geomorphic hills. This is the latest in a great set of tile sets, which won them an award for "Best Game Accessory" from Origins a couple of years ago. The hills themselves are not yet on their web site, but but I have been told that will happen this weekend.  They have a lot of other tile sets for Land, Sea and Space. Including Hedges, Crops, Marshes. Great for 15mm figures from WWII to RPG's.So I opened a couple of boxes, and decided to put them in a game with the terrain being Steppes. They create a touch of panache for the field. I dusted off my Palmyrans, who fight in the steppes, and are allowed 3 hills, to have another go around with the Romans.

An example of the hill when created.  Figures are 18mm.  The measuring stick is in 40mm increments.
Another thing different I am trying is a change of the view. All my battle reports are from the perspective of Me and my Opponent. But these are solitaire games, and there is no "him". So why not take center-line shots from above?
I know there are 6 hills on the board.  My house, my rules.  There are also more than 200 points.  The hills shown here are built from just two boxes of the Hills set from Place to Play, and there is more pieces that didn't make the board.

The answer came to me as soon as I set up the 3 command.  I have to stand and reach across a meter of space to move them.  Live and learn.

Turn 1:
The Romans roll maximum command points down the line.  The Legions and Auxiliaries race across the field.  The Equites hangs back as their role is to cover the Legion's flanks, and not get shot up too bad.
 
Marcus Aurelius Probus stops just out of bow shot. 
The Palmyran Horsemen all advance quickly.  Only the bowmen are hesitant, They have the hill advantage, and step forward a few paces and loose arrows.

Palmyran fletchers must have had a bad day.  Only one Roman unit suffered as a consequence of all this missile fire.

Turn 2:

Aurelian is employing the very dangerous strategy of offering his legions for a sacrifice.  Relying on their elite and 4 cohesion points to hold out long enough for the Auxiliaries to clear the hill, and the Equites to run off the Palmyran light horse.
In L' Art de la Guerre, each command is moved separately.  The order of which is up to the player.  Which can lead to inter-command problems.  Here, the center command moved first, and sent their Light Infantry to harass the flanks of the Palmyran Cavalry.  Then the Roman Cavalry command moved last, charging, causing the Palmyrans to evade.  So the Roman Lights have nought to throw their sticks at save their own troops.

Palmyran Cataphracts are professionals.  They see a weak point in the line and crush it, daring the Legions to advance to do something about it.

Between the lost Auxiliary and bowfire, the score is 6-0 in the Palmyran's favor.
Turn 3:
Aurelian accepts the challenge.  By engaging the Cataphracts, they will not be able to cause mischief elsewhere.
Roman Cavalry charge anew!  Again they roll long to the Palmyran's short.  The Legions are not doing well though.  One is destroyed, and 4 have 2 hits each on them.  The battle of the hill is a tough call.  Both sides have 3 disordered units and one destroyed.
A mid turn visit to the Tree of Woe, the Palmyrans have a 5 point lead.
The bottom of the turn sees little change on the hill.  The Roman pursuit on the edge however has the bowmen flank being threatened.
The Legionaries however have reverted to type and are holding their ground against superior forces.
In reflection afterwards I realized that the Cataphracts should have broke off from the line to recharge next turn.  That would have finished the Romans off.


The battle for the hill has turned against the Palmyrans.  The score is 11-10.
Turn 4:
The top of the turn sees another charge by Roman Equites, and this time the Palmyran stood and fought, vice run off the edge of the board.  Roman Legionaries continued to hold off the Cataphracts. The fight for the hill is almost complete.

The Palmyrans suffered greatly this turn.  Their number of points destroyed more than doubled.  But the Romans are a smaller army and are 8 away from demoralization as well.
Coulda, Shoulda,  Vaballathus should have just run off the board.

The Legionaries have been really rolling the spots off of the dice, and that is why they are still standing.  But their flank is now truly turned, and the end is near.
Only one Palmyran bowmen remains.
The Palmyrans are only 2 from breaking, the Romans still have 7 to go.

Turn 5:
It's is winding down now.  Even if the Cataphracts totally destroy the Legions, they would also have to capture Aurelian to win.

The Cavalry fight devolves down to what every good cavalry fight does, into 7 separate battles.  
Not quite a venn diagram
Two more Legionaries fall  But surprisingly, so does a Cataphract.
The Auxiliaries on the hill triumph! But will take some time to become combat effective again.
The last shot of the Tree of Woe.  The Romans win, 27-18

So what went right for the Romans?  First their plan worked.  The Legions were able to engage and hold the Cataphracts while the wing commands destroyed their opponents.

And while this was true, there was a very strong luck component with this as well.

The bottom of turn 3, and all of turn 4, when any bit of luck in favor of the Palmyrans would have blown a hole in the Roman line, there was none.  On many rolls, only armor saved the Cataphracts from disorder.  

But even if the Legions had fallen earlier, the maneuvering problems inherent with Cataphracts would have prevented them from interfering with the battles on the flanks in a timely fashion. So, perhaps the plan was solid.

The Palmyran Cataphracts had two opportunities to break off and charge again, gaining furious charge and impact, while the Romans only could rally.  They did not do this, because it seemed the Legionaries were about to collapse anyway.   Lesson learned, always break off for a new charge.

The Palmyran bowmen did what they could.  Half of the Auxiliaries went up the hill disordered from missile fire, but still prevailed. 

The Palmyran Light Horse command was just an embarrassment.  They failed to maneuver for the flanks.  This was probably due to them being across the board and quite a reach, and from my perspective, I was just not seeing it from the side lines.  Their missile fire was ineffective as well against elite, armored cavalry.


Sunday, May 3, 2020

A Burden of Germans

A Headless Body Production
Venue:   A Double Header at Al's
Event:    Prep for USTT 2020 
Players: Phil Gardocki running Burgundian Ordinance
               Al Kaplan running Medieval Germans
Game System: L'Art de la Guerre, 15mm, 200 points per side.
Theme: Medieval Period

Nothing like an early off day for a bit of mayhem.  In practice for the USTT, Al and I will be doing a double header.  First Period 4 (Medieval) and then Period 1 (Biblical).

You have to love L'Art de la Guerre with a 2 and a half hour time limit that makes it possible.


The Forces:
Burgundian Ordonnance
Commanded by Lawrence, the Competent, his brother Darryl (Which turns out to be French in origin)  the Competent and his other brother Darryl , the Ordinary, and somewhat unreliable.
5 1/2 Heavy Spearman 1/2 Longbowmen       
2 Foot Knights   

1 Pike, Mediocre   
3 Men-at-Arms, Heavy Knight, Impact, 1 Elite  
2 Light Cavalry, Crossbow
2 Demi-Lancers, Heavy Cavalry Impact
2 Handgunners, Elite          
2 Crossbow, Pavise
Breakpoint of 20
 
Medieval Germans (derived from vague recollections and only have the barest resemblance to reality)
4 Heavy Knights, Impact
1 Medium Cavalry Crossbow
6 Landsknechts, Pike, 3 of which are Mediocre
4 Foot Knights
2 Halberdiers, Heavy Swordsmen, 2HW, Armor
2 Hungarians, Light Cavalry, Bow
2 Militia, Light Infantry, Crossbow
Breakpoint of 22

The Board:
The Burgundians win the initiative and elect to attack in the plains.
Along the mighty Aalbach river, the Germans erect their camp.

Displayed in front of their camp, is a mighty host of foot.

To their left, a slightly less mighty host.
And on the far left, proud knights that will be the the hammer to their foot's anvil.
Before the mighty host, and defending the camp, is Darryl, commanding the weakest of the Burgundian battles.
 That probably wasn't well thought out...

Lawrence's Battle is well arrayed in the center.
His other brother Darryl, faces a dilemma.  He faces a foe without benefit of surprise or position, that he is actually superior to.  This doesn't happen very often, and he is much confused.
 Turn 1:

Darryl advances his heavies, leaving his crossbow behind.
Darryl's mission is two fold.
      1) Don't die (too soon), and
      2) Support Lawrence's command.
Leaving the crossbow behind in terrain secures mission 1, and advancing his longbow mission 2.  Since he is facing slow moving troops he shouldn't get into trouble too fast.
Lawrence advances on the double,  The matchups are not too bad, mediocre pike vs mediocre spear on contact.  With some disorder on the Germans thrown in.
Darryl's Knights advance to the limits.  His Lights staying out of range to avoid being surrounded.
The Germans (correctly) assume that Darry's forces will not be racing across the field and left face and march.
So to the middle command.
Their knights halt in front of superior force.

This may seem strange, but Al doesn't run this very often.  And it was only after he deployed that he realized that his foot commands were not identical, but that one was full of mediocre troops.  So he was trying to get his good command in a better position, and his mediocre command to support his knights.

Turn 2:

Larry's lights advance for a shot, and get within 4 UD of the German main lines to keep them from double movement.
Darryl decides to call out his Crossbowmen.  The German pike cannot move forward when they turn, so even if they race across the field, it would be turn 7 before they can get to the crossbowmen.
Lawrence advances to arrow range, but the Germans are well screened by a single light foot.

Darryl's line trots to about 2 UD's from the German lights.

Missiles are exchanged, and the Germans are winning 1-0.

The Germans recall their lights as the battle makes a right face. 
Ditto their middle battle
Their knight command does nothing.  They don't wish contact any sooner than necessary.
The Germans have 0 points towards their breakpoint of 22
The Burgundians have 2 points towards their breakpoint of 20

This is embarrassing, as the Burgundians are a shooting army, and yet the Germans are winning the missile exchanges.

Turn 3:

Darryl holds his ground.

Lawrence decides to hold as well.  He is willing to see how well the knights are going do.

And Darryl pulls a sneaky move, surrounding the German lights before charging with knight and lance.  He leads from the front to help seal the deal.  The German Hungarians had no chance at all.
The German main battle advances.
So to their secondary battle.  They have to secure a win before the Burgundian Knights crush their own.
Outnumbered, the German knights cant their line to protect the infantry flanks from the spare Burgundian cavalry.
The Germans have 6 points towards their breakpoint of 22
The Burgundians have 2 points towards their breakpoint of 20

Turn 4:
Darryl stands bravely.  Though at this point there is no other option.
Lawrence's shooters finally score a single hit.
For the second turn in a row, the Burgundian knights charge.  The German Medium Cavalry rolls long in their evade, leaving the board.  And once again, Darryl leads from the front, Winning 2 of 3 dice-offs.
It is now time for the Germans to charge. 
The clash of arms runs all the way down the line.
Nothing clever or creative here, just mayhem.
The Germans have 12 points towards their breakpoint of 22
The Burgundians have 8 points towards their breakpoint of 20

Turn 5:

Darryl's force is still holding it's ground
Lawrence lost half his fights last turn, and this turn didn't improve the situation much.  Highlights are the destruction of Landsknechts, traded for a Spear/Longbow unit.
The cavalry battle swirls, which they are prone to do.  A German Knight falls, the last is disordered.  Demiknights take German foot knights in the flank for a hit.
The Crossbowmen have been reeking havoc on the German Pike, to the point where they decided to screen it with another pike.
Lawrence's main line is about to fold.  2 dead, 2 with 3 hits.
The battle is resting on Darryl.  His opponent is defeated, but can he get somewhere useful in time?
The Germans have 16 points towards their breakpoint of 22
The Burgundians have 12 points towards their breakpoint of 20

My main plan is failing.  Which is to gracefully lose on the left, and win in the center and right.  Two of 3 parts are working, but I am so badly injured in the center as to lose this battle.

Turn 6:

Darryl loses his last heavy troop, but couldn't resist sending a crossbow to shoot at the heavily disordered pikemen.  A hit is another point, and I only need a few more to win.
In the center, both sides are in the same shape.  They both won their right, and lost on their left.  Now it is a matter of who can pursue the advantage best.

The Knights are victorious, but lack targets, and are so dispersed that Darryl can only hand out a few orders.
German Pike charge, and lose the dice exchange by 2, and so the Crossbowmen live another day
In the dead center both have the same situation.  Both with 3 hits, both flanked by foot knights.

On the far right, the German Foot Knights defeat the Demilancers.
Looking for points anywhere, A crossbow unit flank charges a pike.
In the center, a rally keeps the Flanked Burgundian Spearmen in the line. 


Darryl leads one last charge of his knights, and totally destroys their foe!  Demiknights and Light Horse crossbow make a Foot Knight sandwich for the final blow.
The Burgundians win by the skin of their teeth!

The Germans have 22 points towards their breakpoint of 22
The Burgundians have 18 points towards their breakpoint of 20

That was a battle that went from "Well in Hand" to WTF in a hurry.
My shooters were practically blind, combined by creative use of screening elements by Al, so when push came to shove, my foot troops are mostly mediocre.  Fortunately, they were facing mediocre pike.