Sunday, July 31, 2016

Anglo Irish vs Hungarians

A Headless Body Production

Venue:   Walt's house
Event:    Weekend at Walts
Armies: Anglo Irish played by Phil Gardocki
                  Feudal Hungarian played by Kevin Swanson

Game System: L'Art de la Guerre, about 20- points per side.
Theme:   15mm Feudal Era 1000-1299 AD, Lists 134, 148, 151, 172-218 and amended as follows: no elephants, no Heavy Knights, and no foot Knights.

This is the first round of L'Art de la Guerre at Walts house.

The Forces:
Anglo Irish: Commanders  Larry, Darryl, and Darryl (all Competent).
       6 Longbowmen (two elite)
       2 Kerns, Light Infantry  Javelin
       4 Galloglaich, Heavy Infantry 2H Sword (all elite)
       2 Light Cavalry, Javelin
       2 Irish Foot, Javelinmen
       2 Anglo Medium Knights, Impact (both elite)
       2 Irish Nobles, Heavy Cavalry
       5 Fortifications


Feudal Hungarian: Commanders Janos (the Brilliant), Raisuli (the Competent) and Zsa Zsa Gabor (the merely Ordinary).
       4 Nobles, Medium Knight Impetuous (elite)

       4 Szekler, Light Horse Bow (elite)
       6 Hungarian Horse, Light Horse Bow
       4 Hungarian Bowman
       4 Slavs, Heavy Infantry Spear
       2 Hungarian Light Foot, Bow
       2 Croats, Javelinmen
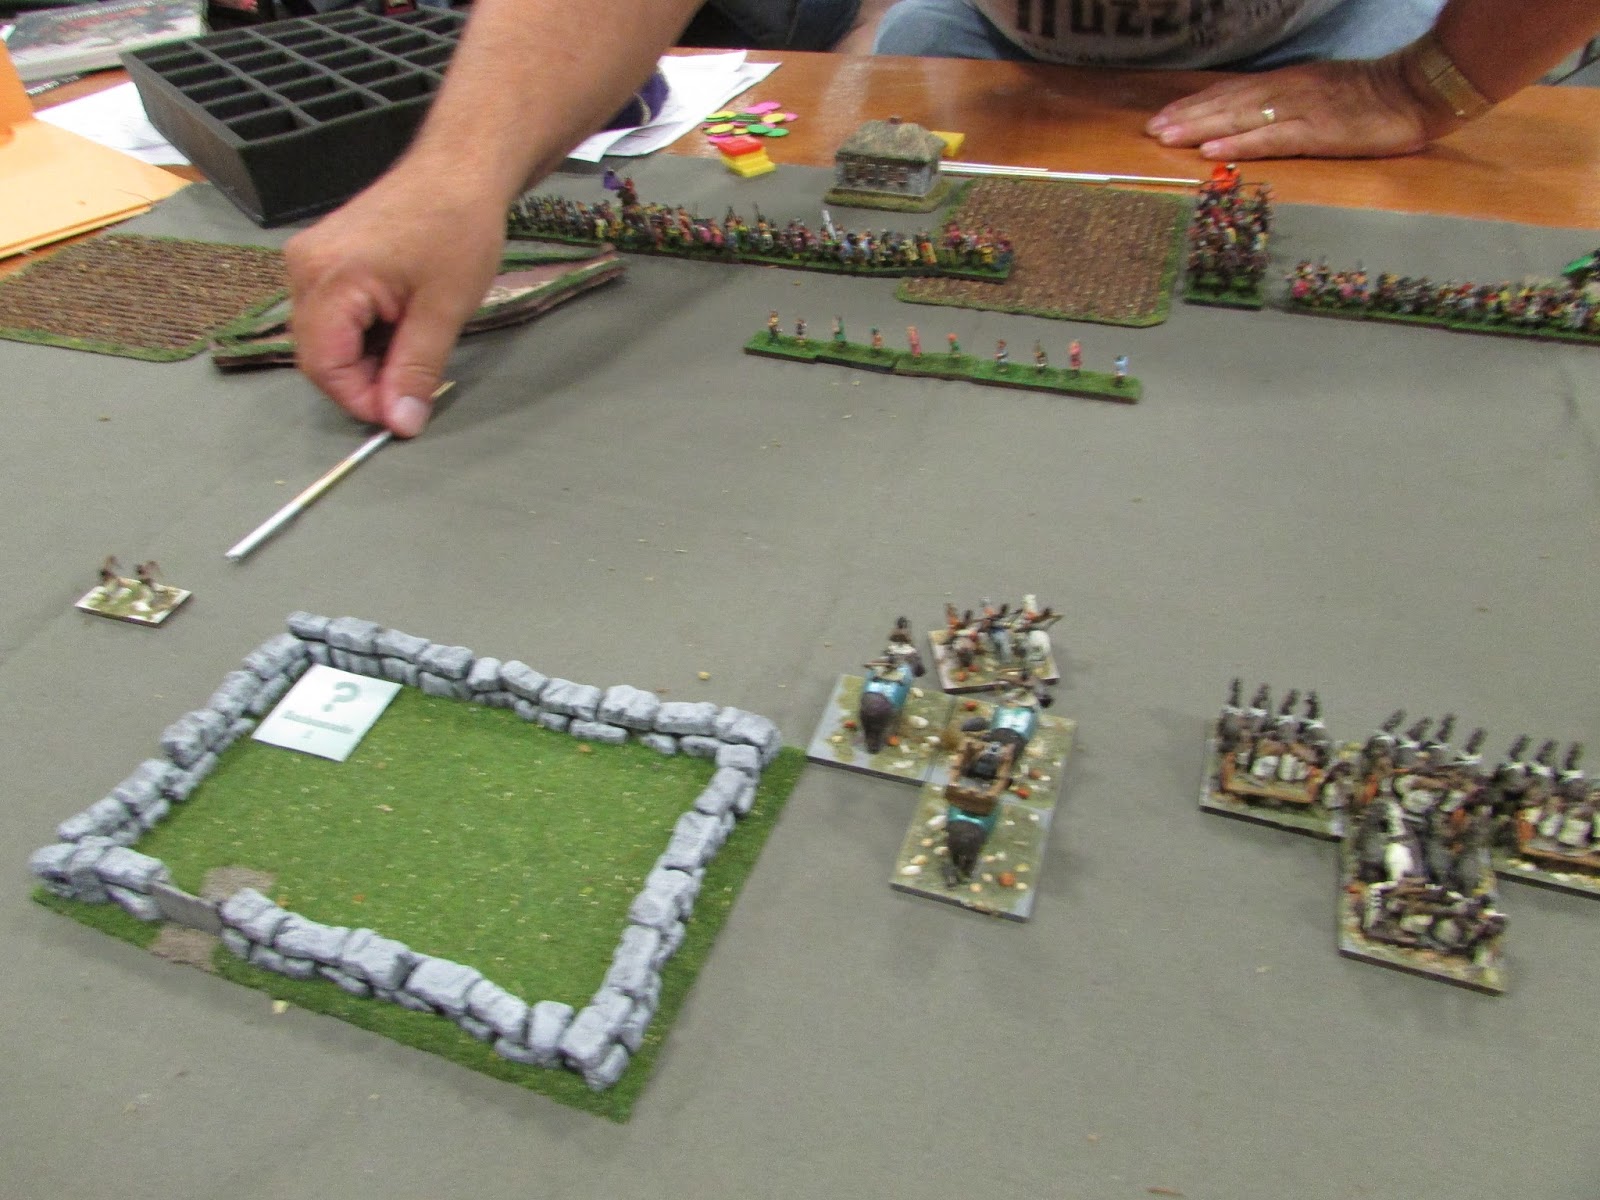

The Board:
The Hungarians win the initiative roll and elect to attack in the plains.
The Anglo-Irish select the Hill, the Gully, a Plantation, the Road and get a Field for free.  The Hungarians selected 2 fields.

The Anglo-Irish like a bit of terrain, and get none of what they selected on their side of the board.
The 2 fields they do get, are placed by the Hungarians.
Deployment:

The Hungarians have only deployed 2 Battles on the board.  One Battle are Knights and Light Horse, supported by Bowmen, the other is a lot of spearmen.
The Anglo-Irish left Battle looked OK until it was forced to deal with a flank march. 
The Anglo Irish left is looking flush.
The center looks good too.


Turn 1:The Hungarians check their flank march, and rolls a 6.  It is coming on Turn 2!
With an early arrival of their flank march, the Hungarians are looking at being defeated in detail.  His right side Battle only gets 3 command points to advance though.  The Anglo-Irish left Battle, only gets one command point, and doesn't want to push hard either.
The Hungarian Spearmen double time it.
The Anglo-Irish right flank forces are too close to the edge, and will be forced to flee when the flank march comes on.

The Irish right Battle gets two command points.  Javelinmen take up positions behind the barricades, while the center Battle moves it's Longbow to the other.  The Cavalry and Knights turn to get away from the panic zone.  The Irish Light Horse races to meet the advancing Hungarian foot in hopes of slowing it down.
Sorry for the poor picture.  The Anglo-Irish's center Battle, advances only a little bit.  We will see how the flank march goes before committing to a general melee.
Turn 2:
Having a considerable advantage in Light Horse, the Hungarians run up to the Irish Light Horse.  They are looking to pick up a quick two points there.

The flank march comes on.  What a mess, 4 Light Horse and a pair of Javelinmen.
Hungarian Spearmen and Bowmen advance.  Their arrows fly, damaging the Irish Horse.
The Szekler Light Horse also let fly, damaging the Kerns.

At this point you would think the Anglo-Irish flank command, consisting of 6 units, a Knight, a Heavy Cavalry, a Light Infantry, a Javelinmen,  a Longbow, supported by a pair of fortifications, would be able to deal with this flank force.  But this is not the case, as I was poorly deployed, and separated.  I just can't get the command points to turn things around.

The Irish Nobles try to run the Szeklers off the board, but lose the initial round of combat.  Lacking the command points to move it, the Irish Light Horse is shot to death.
The Anglo-Irish left, with only one command point, rescues it's Light Horse.
Turn 3:
The Hungarian missile men advance and shoot well, scoring 3 hits out of 4.
One Hungarian Spear is left behind to rally from being shot at.
While on the right, another exchange of arrows is happening. Both sides take hits.  The Irish Nobles are flanked and destroyed.
A poor picture.  The ambush marker is removed to reveal a Light Foot unit.  It will absorb the arrows while the Irish Nobles and Knights rally.
The Knights and Javelinmen charge the Hungarian Javelinmen.  The Knights rolled for two hits, and furious charge make the third, taking out a Hungarian Javelinmen.  The Irish Javelinmen just rolled a 6-1 and destroyed their opponent as well.
Turn 4:
Taking advantage of their numbers, the Szekler Light Horse charge the Anglo Knights in the flank with 2 supports. They have +3 to a +2 advantage, and didn't roll well.  And so lose the initial fight.

More missile fire exchange.  Spears and Longbow taking hits.
The view from the Hungarian left flank.  There are a lot of hits on the board.  The score is 11 to 11.


Turn 5:
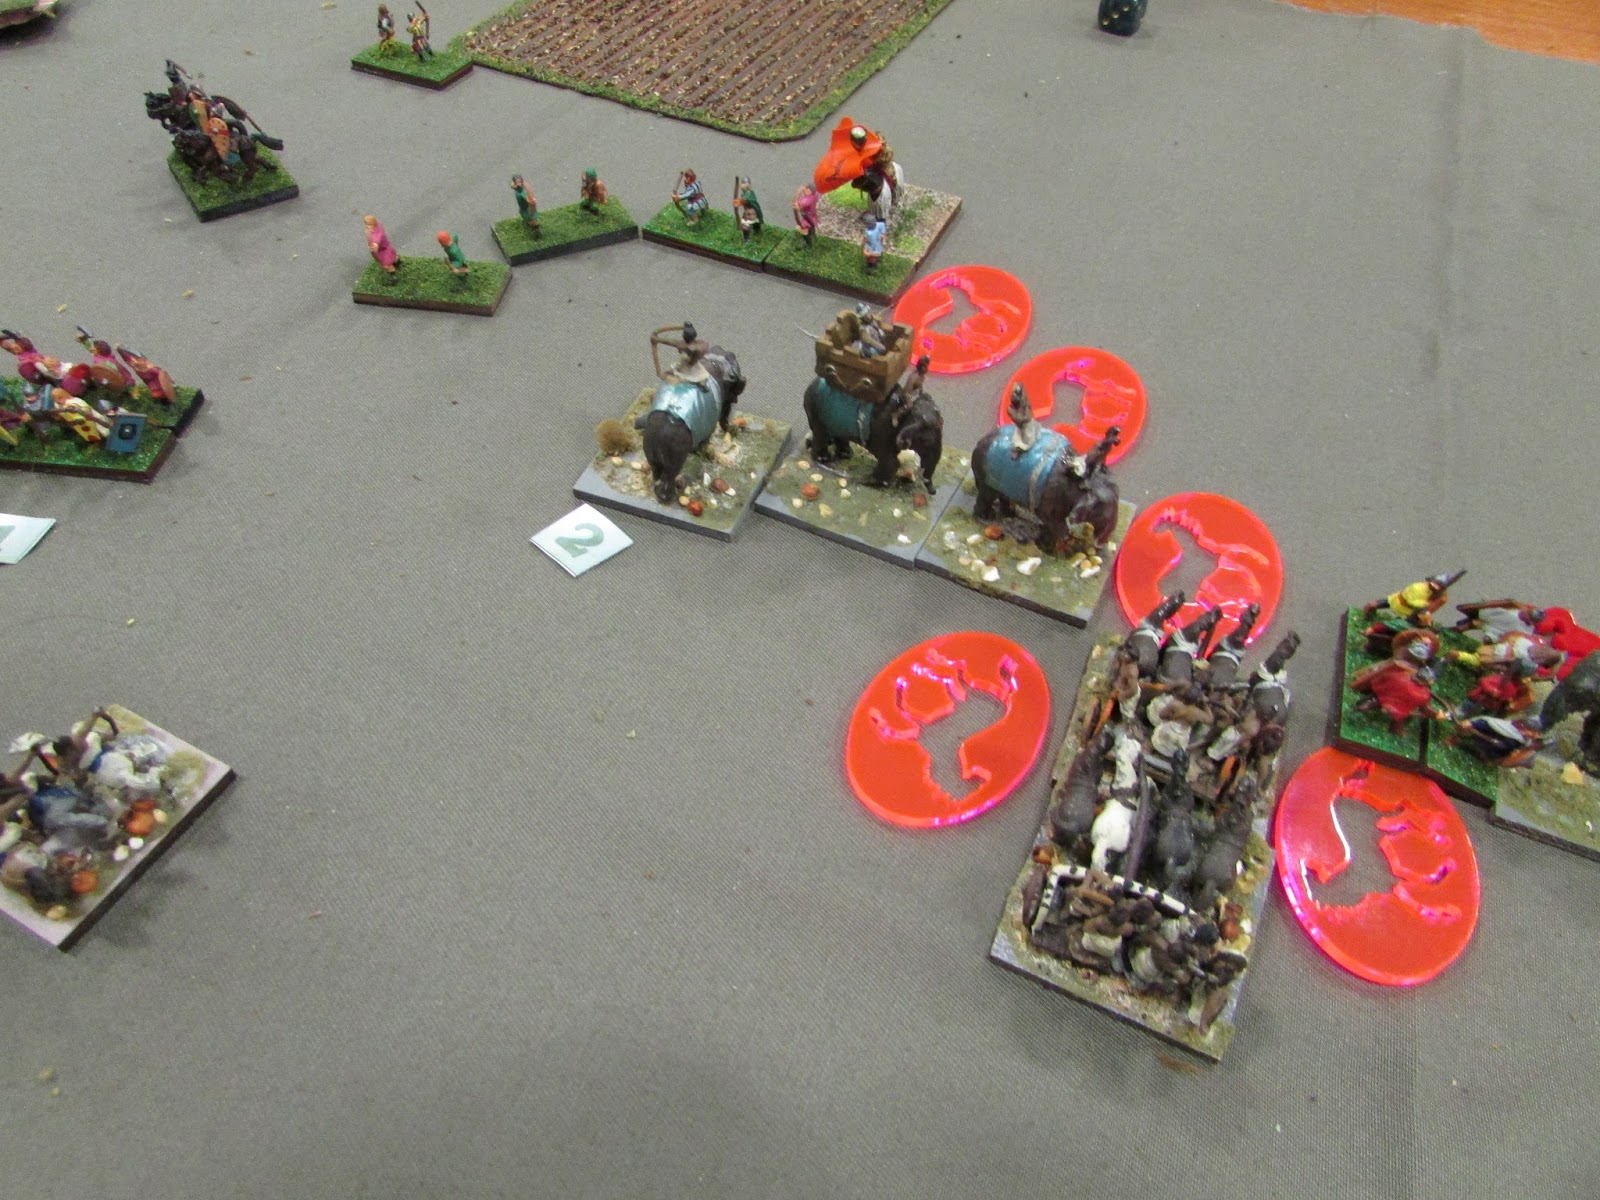
Total confusion.  The Szekler Light Horse broke off from the Anglo Knights.  Another Szekler Light Horse attacked the flank of the Irish Javelinmen, but were destroyed.  A third Szekler Light Horse navigated the gap between the barricades, attacking the Longbow.  Hungarian Knights commit to their charge against the Galloglaich.

Surprisingly the Szekler destroy the Longbowmen.

The Impetuous Knights charge.  The dice ran pretty much average with two Galloglaich damaged to only one knight.
The view from the Anglo-Irish left.
Hoping for good dice, the Anglo Knights charge, but only get a tie.
On the left flank, there are just too many missile men, and the Anglo-Irish keep spending all their points rallying, instead of going out to kill things.

At the end of turn 5 the Anglo-Irish hit their break point. The Hungarians with a very convincing 21 to 14 win.

So what went wrong?  First, Kevin just played better then me.  He had read my earlier battle reports on this army and formulated a plan to deal with it.  My deployment on both flanks was poor.  I was complacent with my fortification positioning and Kevin took advantage of that.  My flank command mission statements is too "not lose".  Which lead to Kevin occupying a full Battle of 53 points with just 28 points. Giving him a 25 point advantage where the fight was really happening.

On the right flank, my deployment was totally disjointed.  6 units split into 4 pieces.  It was OK when the enemy was coming from straight ahead, I can react with 1 or 2 units, but when I had to turn it 90 degrees to deal with the flank march, it's weakness was revealed.

The fortification position was careless.  The Szekler Light Horse was able to maneuver and to shoot from behind the barricades, denying their cover advantage.


Wednesday, July 27, 2016

Historicon 2016 Open Tourney Round 3

A Headless Body Production

Venue:   Fredericksburg Expo & Conference Center
Event:    Historicon's L'Art de la Guerre's Open Tournament, Round 1,
Players: Phil Gardocki running Porus and Son
                  John Lob, running Rus.
                 
Game System: L'Art de la Guerre, 200 points per side.

Historicon!  The Mecca of miniature wargamers in the USA.  3,000+ gamers descend upon historic Fredericksburg for 3 days of Martians, Mammoths and Mayhem.  Highlighted was the soon to be released Sergeants, Hell on Wheels by Lost Battalion, a massive walk-up game of raiders vs a Gallic migration.  The table was 32 feet long with thousands of figures.  All's Quiet on the Martian Front was represented by a huge field of 30 Tripods verses a hundred plus Steam Tanks.  The WWPD crew were in evidence with a live podcast.  And of course, Ancients.  Three Ancients systems were running strong, "Triumph! Fast Play Rules" seems to be a new comer with a good followingWarrior, which was having a resurgence, and L'Art de la Guerre.

The Forces:
   Classic Indians: Commanders  Porus, Porus (no joke!) and Patel
                                 Represented by elephants with howdah's and the white tiger
                                 skinned chariot.
      4 Elephants (elite)
      3 Heavy Chariots, Impetuous (elite)
      2 Medium Cavalry (mediocre)
      2 Medium Swordsmen (elite)
      6 Mixed Sword (mediocre)/Bowmen (ordinary)
      2 Light Foot Bow
Break point....19

Apologies for the lack of flocking on the Indian troops.  I decided to re-base that morning to more appropriate Medium Infantry basing.

Rus
    No list provided.
Break point....23 ish


The Board:
The Indians lose the initiative roll and are attacking in the plains.  They take the required field, a gully, a plantation and a gentle hill.  The Rus take 2 fields.  The Rus have two fields and a gully on their side of the board.  The Indians have a plantation on their left, a field on the right, and a hill at their back.

 The Deployment:
The Indians deploy their Elephant Commands left and right, with the Chariots in the middle.  The right side command  was a bit compressed, and so the archers are in a rank behind the elephants.  On the left there is an ambush in the Plantation with all that commands foot troops.  

The Rus have a large infantry command on their right that will have to cross the gully.  Their center is supported by 5 elements of Light Infantry.  Their left flank has 3 Heavy Cavalry and 6 units of of Heavy Infantry. 

Turn 1:

Attacking is an interesting change of pace.  All elements go forward.  The Patel and Porus's commands seem well suited to the engagement ahead.


Rus Archers is up against Porus's Elephants.  A cavalry unit is spliced off to act as skirmisher.

In ambush is 3 archers and an elite Guardsmen unit. 

A view from Prince Porus's Command Chariot.

The Rus have enough command points to double time past the gully.
Their skirmish line also double times.  They see easy shooting ahead.
Their left flank is slow to advance, their cavalry expanding and their infantry moving at a normal pace.

The Rus right flank is his strong force.  But Porus only had one command point to spend, and advanced himself and the Light Infantry once.  If he had rolled a 2, the Light Infantry could have double timed it causing the Rus force to slow their attack. 

Turn 2:
The ambush is revealed.  The Rus Heavy Infantry will have to think twice before entering the rough.  Meanwhile the bowmen have amble targets against the Rus Lights.

Indian Cavalry charge, running off 2 of the Rus Skirmishers.

Patel's force slows down it's advance to expand it's line.

Prince Porus is holding back.  He doesn't want to charge until everyone is ready.

Not surprisingly, the skirmishers depart.

In an amazing show of archery skill, 3 hits in a row!
Turn 3:

This line is as good as it's going to get.  Patel and Prince Porus advance in unison.

Supported by King Porus's Pachyderms. 

Sensing weakness, Archers and Guardsmen leave the plantation.  The Rus are having command problems as well, causing their center to falter.
Turn 4:


The grand charge!  This is what I wanted, but there are still problems.  The Indians failed to get the overlaps they wanted and one of the Chariots is experiencing Elephant Panic.  It is still mostly good pairings with "Knights" on Cavalry, Elephants on Infantry, Sword on Spear. 

King Porus just misses getting in on the skrum.

The main Rus force stops to rally.  Even with two successes this is a win for the Indians.  The Rus are not moving forward, and are committing themselves to 8 more shots of bow fire.

One Rus unit destroyed, 3 damaged.  4 Indian units damaged.  This is not the favorable result planned.
Turn 5:


King Porus's Elephants join the fray.  This fight is now every major hitter in the Indian army.  Both sides are weakening rapidly.
Sorry for the poor picture.  The Rus right and center commands finally get moving.  They charge the Indians, but luck was not with them. 
This did not go well for Porus and son.  Two chariots were lost and rest of the engagement tied.
Turn 6:

This turn went much better.  All the Rus Cavalry has been destroyed.  Their infantry is fragmented and damaged all down the line.

Patel has joined and rallied his Guardsmen.  His infantry are all undamaged against a fragmented enemy.
Facing a split enemy force with weakened troops, and having a flank opportunity, all of Porus's Infantry surge from the plantation and join this fray.  One res spear falls, and another is damaged.


Rallies work both ways as the Rus commander keeps his force into the fight.  One elephant strikes a spear unit in the rear, but manages to lose its melee anyway.

The Rus see a shooting opportunity here against an elephant with 2 cohesion hits. 

The Rus Center has joined the battle.  The only miracle here is that the Indian Cavalry wasn't destroyed on contact.
Turn 7:
A quick count of points has the Indians winning 7-16.  of the 8 points needed to win, 4 are easily obtainable.  But the Rus have 9 points that they can easily in reach as well.

Two more points as one spear unit falls beneath the swords of Patel's Archers and Prince Porus's chariots takes another spear in the rear.
And just how are these guys even standing?
Not only standing, but still trading units one for one.


The fight for the right flank is all over but for the screaming.


King Porus is looking over this disorganized mess.
Turn 8: 

Only one Rus spear unit left, but he is tenacious.

Elephants charge, scattering lights and cavalry like chaff.  Unless they are shot down, the path to the Rus camp is clear.


The last spear falls on the Rus left flank.  The problem is the Indians only have 20 of the 23 points they need to break the Rus.  There is just no place to get them.

On the Indian left, their command is on it's last point as well.
The Rus Lights continue to try to shoot down a weakened elephant. 

At this point time was called.  The Rus had 15 of 19 points, and the Indians had 20 of 23.  We fought each other to a bloody draw.

This fight was a classic both sides making a strong right flank.  And both were successful at it.  Though the Indians did a better job of it, but it cost them a lot.  The Rus right only only succeeded after the Indian foot left the plantation.  In retrospect that was a bad decision.  They gained 5 points for it, but in the end it cost them 9.  So it was not worth it.

I think both picked a losing strategy here.  Both were doomed to fail for the same reason.  Even if they were overwhelming successful, the question of "then what?" arises.  Neither of these armies have the speed or command points to pull their strong flanks together and continue to do war on their opponents.   Effectively, their strongest commands were now "Combat ineffective".

Had the game lasted another 3 or 4 turns, it would have been a contest of 2 Elephants and a Medium Cavalry against 5 Light Infantry and a Heavy Cavalry.  Over the course of the time the Indians would have pulled in a Light Infantry, a Chariot and two more Elephants while the Rus probably would only have gotten 2 Spearmen.  I think it would have been a chaotic mess.  Both sides looking for luck to either shoot down an Elephant or catch a skirmisher.