Location: Steve's winter home.
Event: Providence Gamer's Game Knight
Scenario: Battle of Crecy
Players: Phil Gardocki, playing the high and noble English, then reversing to the artless, common-kissing French
Steve Turn, playing the impetuous and brave French, then reversing to the reeky, onion-eyed English
Game System: Time of Legends: Joan of Arc, Brand new, fresh out of the box! Not available in stores!
The Forces:
English:
If memory serves, 8 units of longbow, several dismounted men-at arms, several sergeants, 3 pikemen, Edward III, The Black Prince, and one other lord of noble birth.
The French:
6 Knights, 4 Voulgiers(some kind of halberd), 3 pikemen, and peasants. Led by King Phillip and two other nobles.
Neutrals:
3 units representing the remain of the Genoese crossbowmen, dispersed on turn zero and a priest, blacksmith, peasant.
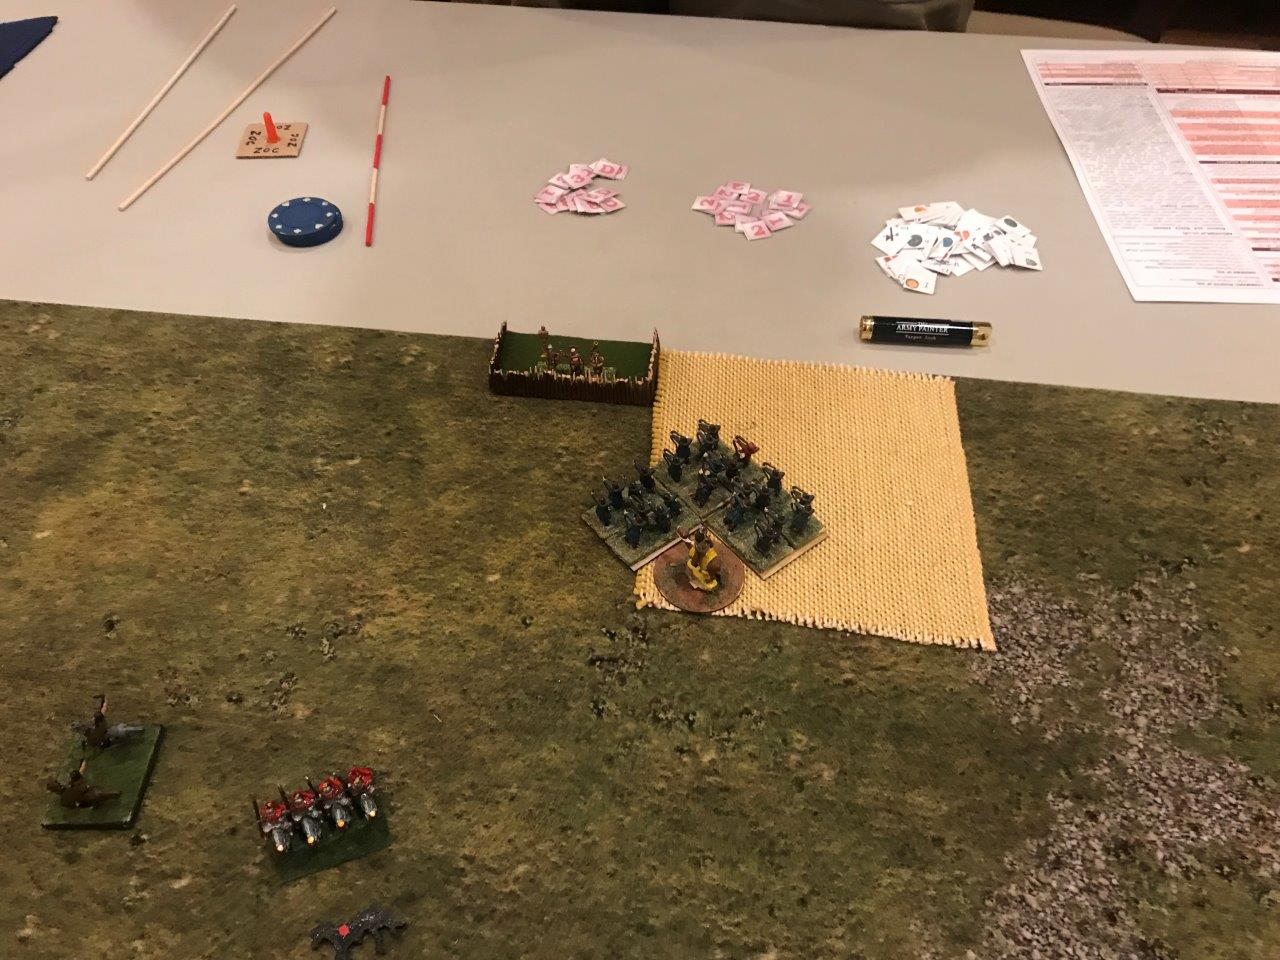
The Board
The board consists of about 6 inch hexagons. Each hexagon may be split into 2 or 3 parts, or be a single area. This effects stacking. Each 3rd can only have up to 4 units in it, each half 6, and I assume a hex that is not split can have 12. The board comes with 3D trees and buildings. The English start with their stake lines deployed.
 |
| The view from the English side of the board. |
Note: I do not own the game and am running on memory here.
The game has a lot of interesting concepts that are not totally intuitive. But once you learn them, they are interesting, and the game was fun enough that we turned the table around and played again.
The first phase is more or less a reset of the pieces. Then a card is drawn to determine the tempo of the game, and then another 3 cards are drawn which have conditions that each player can select one of.
Example, the first card may have 2 to 4 grey stars. This means each player gets 2-4 grey activation tokens. A token when played on an area, activates all the units in an area. When an area is activated, each unit can do what it does best. Bowmen can shoot, while knights charge. Most nobles have bonus actions and can do them as well as moving/fighting/charging.
Then there are a second set of cards that have all kinds of things offered. Like get another token, upgrade your token to a yellow(reactivate) , or blue(activate on your opponents turn). Or draw a legendary token, or a intrigue token, or an experience point, or trade in a intrigue for something else. There are lots of options requiring you to read them carefully.
If you are older, bring your reading glasses, or turn up the lumens. My only complaint is that some of these cards are written in mouse print.
After have you activation tokens, it is time to put your Machiavellian plans in motion.
The French move first, and Philip masses one of his nobles and 4 units of knights to charge across the field. They run into a remanent of the Genoese crossbow, which they disperse. Steve was going to take another activation, and he suggested I might want to take one of my blue activation tokens, which allows me to play in his turn.
 |
| Philip and and one of his nobles mass wit 4 knights. |
Good idea. I activate an area with 2 longbow.
 |
| Seeing their doom approaching, 2 longbow in the church shoot. |
Combat is resolved by adversarial die rolls. There are four qualities of dice, in order of effectiveness, white, yellow, red and black. The dice can be blank, shield, push, wound, and kill.
The longbow roll 2 yellows each when shooting. But written on the card for longbow, they have a special ability where all the shields count as wounds. Don't worry, everyone gets special abilities. You have to read the cards. Looking at the yellow dice, they are 50% blank, 1 shield, 1 wound and 1 push. I aim for an area with only 2 knights, and roll 4 yellow dice.
 |
| For longbows shooting, shields count as wounds. That's 4 wounds with the odds 81 - 1 against. |
The defender rolls his defensive dice, for the knights, that is one black dice each. Each shield negates a hit. However the bowmen rolled too well, and even it both black dice are shields, both knights are going to be wounded.
But this is not the end. Wounded units are not automatically killed. They go off board to await the decision of the "Doom Die". Where they may rally next turn, or the turn after that, or expire. Suffice it to say, losing 1/3 of our fast impact forces put a crimp in the French canard.
Philip is undaunted, and decides to go for the flank. The French knights invest a church on the far left, and is defended by 2 units of longbow. The knights roll 2 reds each, while Philip and is nobleman just add more to the pile. The longbowmen roll one white die each plus a bonus white for the church. The battle was easily adjudicated with the longbowmen killed. Not wounded awaiting a turn to rally, but dead.
But wait, there's more! When you kill a unit, your side gets an experience point. Killing a mounted unit is two experience points. These points can be spent to raise the level of noblemen, improving their specials and adding more dice to fight with.
Edward was having a serious ut-oh moment, realizing that the next move for the French was to run around the stakes into his rear area. But he has one more blue activation token and activates another area with two longbow units.
 | |
| Activate the forward longbowmen. Target Philip's knights. |
|
| Deja-vu. another 1 in 81 shot.. |
Philip and his noble can take multiple wounds, so they each took one, while another knight left the field for a quick lie down.
Philip, his +1, and 3 knights charge behind the lines, where they are met by brave and honest men-at-arms and their sergeants. The dice are compared and Philips knights are thrown back.
After that, Edward got his turn. reinforcing his right flank, sweeping the field with arrows. But Philip wasn't done.
 |
| Philip's remaining knights charge up the center. |
 |
| Clearing a land in front of them. |
 |
| The Black Prince, his Men-at-arms, a sergeant and a pikeman. (in order of effectiveness) |
 |
| Leaving the field empty of French knights and Philip by his lonesome. |
 |
| But we didn't bring 6,000 longbow all the way from Wales to do naught but sit on their hands. King Philip has a Leonidas moment, and with that, the game was over. |
3 full turns and it was a lot of fun. Despite the steep learning curve of this game we were done in 2 hours. So we reset the board, and I took the French this time.
In the second game, I followed Steve's strategy for the French, and it was perfect. I followed it and he had average luck for the English, and Edward was bleeding out on the ground by the top of turn 3. About an hour and a half.
I can recommend this game, not just because I won two in a row, but there are a lot of intricacies and interplay's that make it interesting. A good game is a game where decisions matter. There are many places to make decisions. There are card interactions I failed to mention because I don't know the names of the various decks or the tokens used to activate them. There is interactions with NPC's on the board, of which I received a free wound removal due to superior equipment, and I go a free reroll from a special legendary card expenditure.
Another blow by blow on YouTube can be found here.
More on the cards, as this came up on the forums, If memory serves,
there are 8 different card decks, some of the decks had similar mechanisms. Others not.
Some cards are permanent, others once and done, others still cost some
token to execute. This provides a
mechanism that allows choices to be made way beyond the normal wargame setup of
lining up and shooting. Without a long explanation,
I think they add significantly to the game.
The Long Explanation:
For instance, the largest cards,
a little bigger than standard playing cards, are for the Nobles. They are a convenient way to present
individualized characteristics to a single figure on the board. There is a lot of room to add in a fair
amount of descriptive text. By making them cards, it relieves the player of the
wear and tear of flipping through a book, allows an easy way to “level up” by
just flipping the card over, and a convenient “tray” to put your wound or
equipment markers.
The unit cards are the size of
standard playing cards. Once again, it provides an easy mechanism to evaluate
your units. The card has its offensive and
defensive dice available, point cost, and special abilities all in one
location, and doesn’t take up too much land cape on the table.
The council cards are smaller,
but have less detail, which is fine, as they are flipped, acted on, and are
done, you don’t have to refer to that card ever again. I only saw them with 3 and 4 grey stars on
them, meaning each player gets 3 or 4 activation's per turn.
Then there are these smaller
cards, 3 are flipped per turn, and each offers from 1 to 4 choices of
stuff. That sounds vague, but they
ranged from getting another, better activation token, trading a grey token
(star) for a better token, getting or trading intrigue or legendary or
experience tokens. Each player can pick
one choice from one card. These cards
are printed in mouse print and took some time to evaluate as you had to pick
them up and look closely at them, and the variety of options required much
consideration.
Then there are event cards. I had a noble that allowed him to draw one a
turn, and these covered a range of things to do, but they cost intrigue
counters to used.
Each side also got a card with 2
or 3 permanent events that their side could execute, but at a cost of legendary
tokens.
There are question and answer
cards for interacting with NPC’s. This
takes an activation of by a noble and can be modified by the noble’s
charisma. There are rewards available
for successful conversations with NPC’s
And lastly, there are equipment
cards. These can be scenario granted or
received as a result of one of the event cards above, or by interacting with an
NPC on the board.
While this may seem complicated,
each set of cards is a simple mechanism in itself. Most are just I have a card; do I activate it?
Or I have a card I want to activate; how do I earn the token required to use it? They do offer the player many more options to
make a choice that matters, and their interaction can make the difference between
the having a point of the spear, or a blunt stick.
For example, in the second game, which
I did not go into detail, because I stopped taking pictures. The Philip and his knights charged the flank
of the English line. They were repulsed,
but not just repulsed, but spread out over the board, which normally would
require many activation's to reform them together for another charge. But with the cards I had many options to alleviate
this.
Using acquired experience tokens,
I was able to promote Philip to second level, this allowed him to activate 3
units, not in his area. This also gave
him an ability that reduced the cost of his event cards. The French had two event cards, each costing
2 legendary points, of which the French had two, earned by one of the other
French nobles on turn 1 by following up an impetuous charge. By reducing the cost, both events were put
into play. One healed a wound of one of
his nobles, the other activated a knight to “move towards the enemy”.
The end result was this knight
charge was able to continue, at not quite the mass it had (3 vice 4) but there
were other knights right behind them to make up for losses sustained in the 3rd
charge, while healing the nobles allowing them to take more damage, saving the
losses of more knights. So the English,
when they counterattacked, were facing a full raft of dice, and not a reduced
set.