A Headless Body Production
Location: Lancaster Host Convention Center
Event: Cold Wars 2108
Venue: L'Art de la Guerre 15mm Team Event, Round 1.
Players: Phil Gardocki, Steve Turn Umayyad Arab
The Brothers Ohtonen, Nikephorian Byzantine
Game: L'Art de la Guerre, 300 points
Description: A battle report between Byzantines vs Arabs
Arab forces:
Brilliant Generals Abdul bin Hummus and Caliph Barack bin Obama (no relation). Ordinary General Baba bin Ganoush the Unreliable, and Darryl.
Forces include:
14 Heavy Cavalry, impact, 4 elite.
2 Light Cavalry, impact
9 Heavy Spearmen, mediocre
4 Bowmen
5 Light Infantry, Bow
3 Tibetan Cataphracts
Breakpoint 37
Nikiphoros the First didn't get to be alive, the Byzantine Emperor, and 50 by giving away information. You'll just have to figure it out.
Deployment:
The Byzantines won the initiative toss and elected to attack in the plains. Steve and I agreed that terrain was not our friend, and picked a plain hill and a road in addition to our mandatory field. I don't recall the picks of the Byzantines, but their terrain seemed to not be present in the photos, so I assume it didn't fit, or got booted by 6's.
Turn 1
 |
| The Byzantine right side corps. 4 excellent cavalry supported with light cavalry off camera. |
 |
| The two center corps of Byzantines. A mix of spearmen, swordsmen, missiles, artillery, and cataphracts. |
Was that Barrista's? It's early, where is the coffee?
 |
| On the Byzantine left, more Cavalry, but no lights. |
 |
| My 15mm ambush markers didn't get packed, so I am making due with a substitution of desert rocks that I did pack. |
 |
| Our center force consists of 12 elements, spearmen and cataphracts. Almost a perfect match for the Byzantine main battle-line. |
Does everyone else think the word battleline is one word? My spell checkers disagree, and so apparently does Merriam Webster.
 |
| Our right flank has 7 heavy cavalry and supporting forces. |
Turn 1:
 |
| The Byzantines advance their forces with some trepidation. I think they also had command point problems. |
 |
| Some of their foot advanced, but not all. |
 |
| Their left side cavalry didn't even keep up with their advancing infantry. |
 |
| Our ambush on the hill is revealed. 4 heavy cavalry, which run off the probing Byzantine lights. Arab bowmen take position on the hill and loose arrows. |
 |
| Byzantine artillery is in range. That was stupid of me. I know lights are supposed to suck up missile fire, but I didn't really need that 20mm this turn. |
 |
| The right flank Arab horse advances to charge reach. |
Turn 2:
It looks like I missed a set of pictures of the Byzantine move and shoot phase. We will pick up the game at the bottom of the 2nd.
I also have to add, I forgot to pack my dead unit markers. This will make the status of the army breakpoints difficult.
 |
| Arab horse continue to pursue the Byzantine lights. The Byzantine cavalry decides it does not wish to tangle with the Arab cavalry and several Tagmata's march to the center, passing Byzantine infantry marching to the right side of the field. |
 |
| Both the Arab infantry and the left side Byzantine infantry rush forward. |
 |
| Arab Horse attempt to turn the flank of the Byzantine line. |
 |
| While 3 Arab horse units make sure this Tagmata will not see any action this game. |
Turn 3:
 |
| The Byzantine Medium Horse has been run off the board, but at what cost? In the end only one of the three Arab units ever got back into the fight. |
 |
| Allowing the Byzantines to gain local superiority where before the Arabs had 7-5 edge. |
 |
| The Byzantine main battle-line has approached to charge reach. |
 |
| On the left there is much maneuvering going on. Byzantine Light Horse is trying to avoid being run off the board. Byzantine spear are expanding to face Arab horse. Archers are shooting it out. |
Turn 4:
 |
| The Byzantines take advantage of their numbers to get in a flank charge. Supporting their Cataphracts the Varangians attack the supporting Arab horse. But dice are not favorable here, and it is the Varangians that take the hits, while the flanked Arab horse holds. |
 |
| Why didn't the Arab foot charge at the bottom of the 3rd? I cannot say. The Cataphracts are holding back because of the spear on horse interactions, and looking for a resolution on the flank action. |
 |
| The Byzantines have brought up their cavalry to challenge the Arab main battle-line, which has picked up a lot of hits from the Psiloi skirmishers and artillery. |
 |
| The Byzantine Light Horse has pulled an escape. But a lack of command points is preventing both sides from doing what they need to do on this flank. |
 |
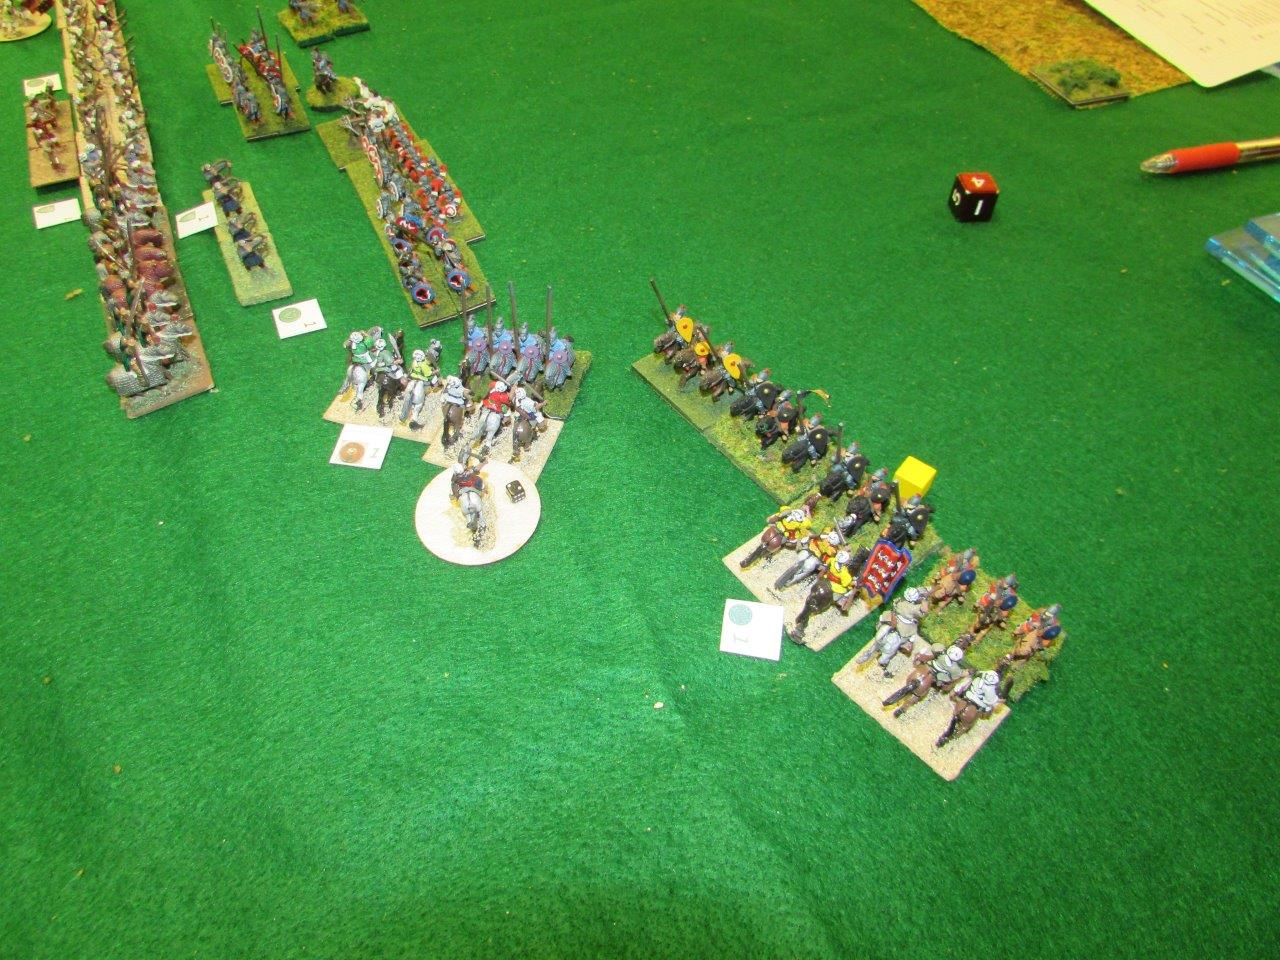
| Back on the Arab right flank. A fresh Arab horse is brought into the battle. Both sides lose a cavalry unit. |
 |
| The Tibetans charge in with with their Cataphracts. One picks up flanking support position, enforcing a tie result of what would otherwise have been another Arab loss. |
 |
| The Cataphracts go after the Skutatatoi. One "Skut" takes two hits, the other is a tie. Arab spear charge in sync with the Cats, destroying the Artillery. |
 |
| Because, why not? Spearmen charge the Byzantine horse, who don't evade. The result is a tie. Time for a grinding battle of numbers vs. quality. |
Turn 5:
 |
| The Arab flank fight is devolving down to a two on two fight. The Nikephorian Cataphracts turn the flank of their opponents and kill them, then pursue into the Tibetan Cataphracts. |
 |
| The remaining Tibetan Cataphracts have a pair of wins, destroying their opponents in the same turn. The remaining Byzantine Skutatatoi are well and truly flanked. |
 |
| Not liking the initial results of being charged by spear, the Byzantine horse break off. Once again the Arab foot are under ballista fire. |
Turn 6:
Time was called here. I don't recall the exact number. I think the Arabs had the barest of a winning draw.
Not having my dead markers really makes it hard to tell the action here. But also, the larger table size for 300 points makes it hard to get the over view as well. If you zoom out, the figures become indistinct, if you zoom in, you only get the regional view.
So what went wrong here? The Arab plan here was to overwhelm the flanks, then push the center. On both flanks there was a failure here. On the Arab left flank, the Byzantines redeployed their infantry presenting a an unfavorable match up for the Arab horse. So the Arab horse kept seeking for better position, and in the end, achieved it. The Byzantine infantry was flanked, the camp was in jeopardy. Another half hour and this could have been the game winner.
On the right flank, the Arabs ran off a distraction, but gave away its numerical advantage to do so, and the battle of that flank wound up being mutual destruction.
The center commands suffered from a bit of timidity. This may be forgiven as the plan was to commit after the flank actions were concluded. However, as soon as the Byzantines turned half their foot to redeploy, this command should have run across the board and engaged.


Looks good. How would rate the system ?
ReplyDeleteThis comment has been removed by a blog administrator.
ReplyDeleteIt's enjoyable. You get the feel of the troop types without it being overbearing. Not as detailed as Warrior, or as messy geometrically as DBM. And the average game is 2.5 hours vice 4, and when you are playing 3 in a day that is a consideration.
DeleteThis comment has been removed by a blog administrator.
ReplyDelete