A Headless Body Production
Venue: Walt's house
Event: Weekend at Walts
Armies: Thematic Byzantine played by Phil Gardocki
Italian Condottieri played by Kevin Swanson
Game System: L'Art de la Guerre, 200 points per side.
Theme: Open
This is the first round of L'Art de la Guerre at Walt's house, Feb, 2017.
Scenario:
None, luck of the draw.
The Forces:
Thematic Byzantines: Commanders Philippicus, Thou villainous bat-fowling popinjay (Brilliant), Eiliphedas, The droning unwash'd fustilarian (Brilliant) , the illiterate loiterer, brother Anon the Unknowable, whose virginity breeds mites, much like a cheese(Unreliable-Ordinary).
4 Tagmata, Heavy cavalry impact bow (elite)
7 Kataphractoi, Heavy cavalry impact bow
1 Varangians, Heavy swordsmen 2HW
2 Skutatatoi, Heavy spearmen missile support
2 Alans, Light Cavalry, Bow (elite)
2 Psiloi, Light Infantry, Bow
Break point, 19
Italian Condottieri:
A strong contingent of Heavy Knights. Support troops include Heavy Cavalry Crossbow. Longbow Infantry, Handgunners and a bit of Light Horse
Break point, 20 ( ish)
The Board:
The Italian Condottieri: win the initiative roll and elect to attack in the plains. The defending Byzantines select a gully and a hill to go with the mandatory field. The Italians select a road and a coastal area.
 |
| Winning the initiative, which side of the board does Kevin want to play on? Wait a minute, That is a different different rules set. |
Deployment:
 |
| The Italians fort up around their camp. |
 |
| As do the Byzantines. |
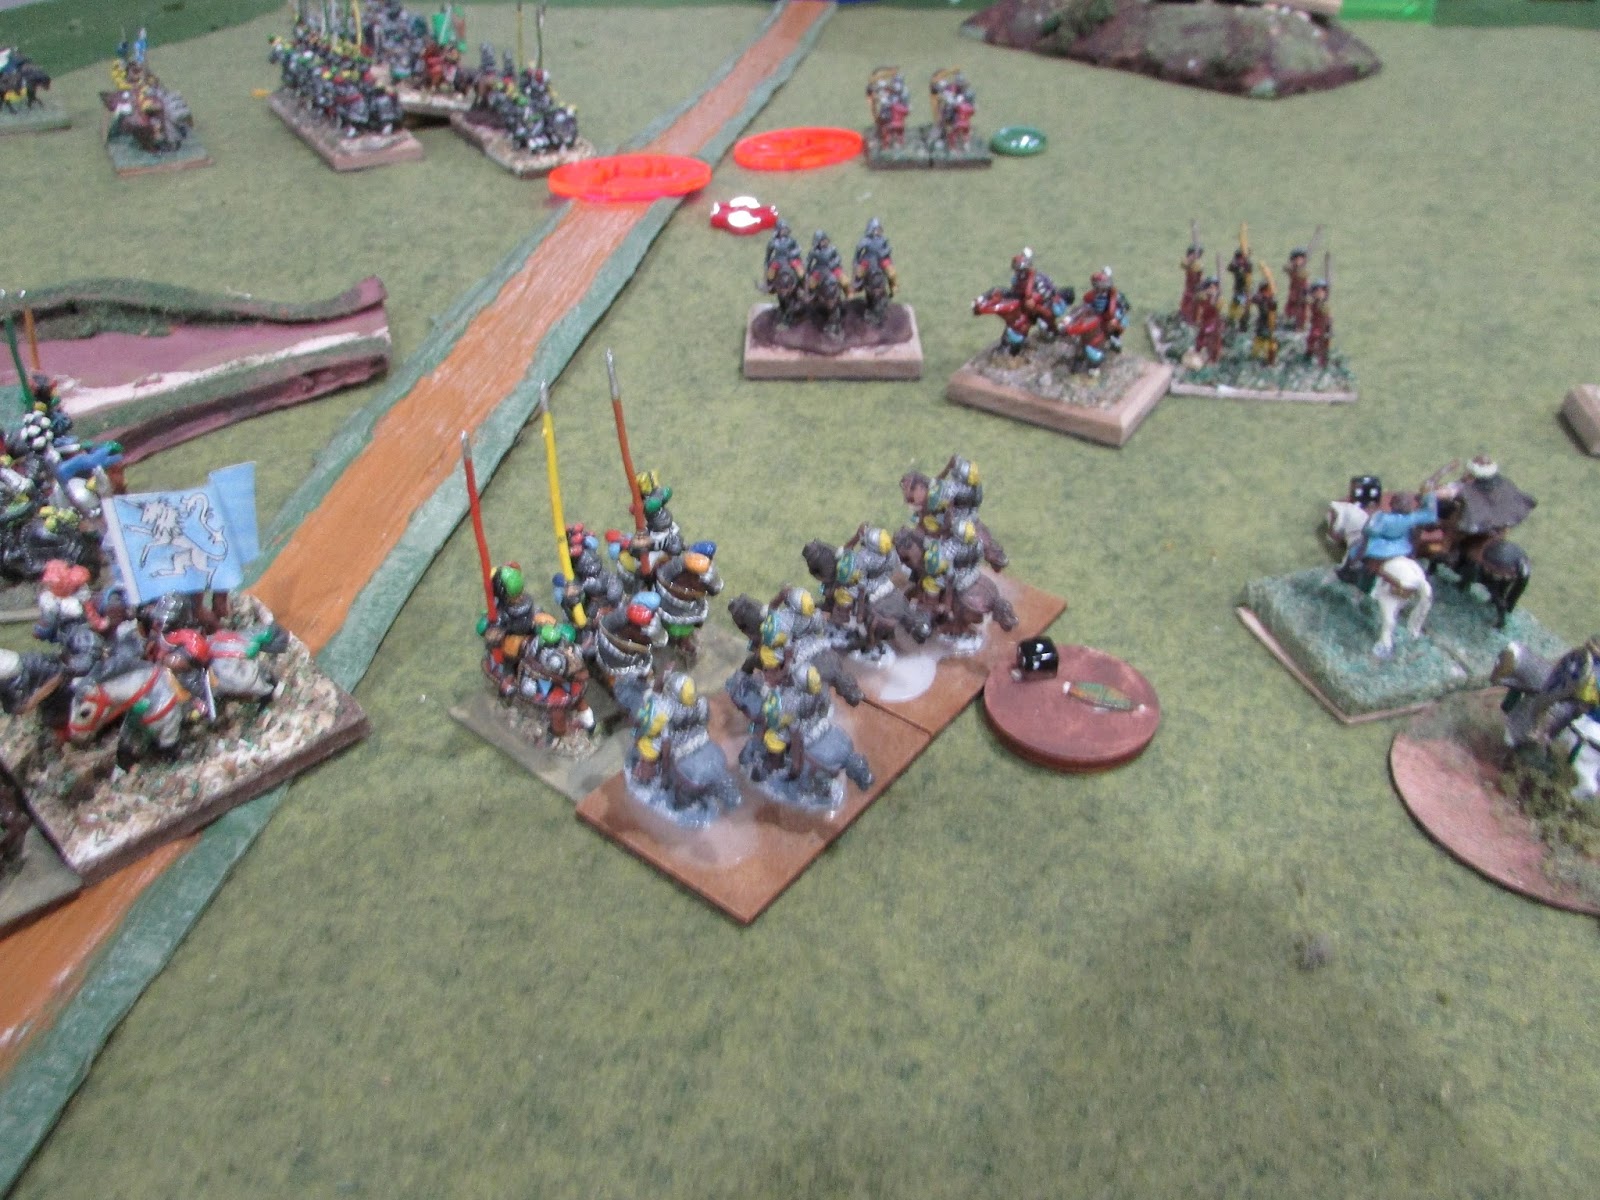
Both sides picked the same deployment strategy. Both deployed an infantry force just right of their camp, and two cavalry commands center and left. A minor difference is the Byzantines have in forward ambush, 4 more Kataphracts. While the Italians have a Light Infantry Handgunner in their ambush behind the hill.
 |
| Four Kataphracts, trying desperately not to be seen. |
 |
| Anon, the Unremembered, looks at the main force of Knights that his men are expected to take the brunt of. |
Turn 1:
 |
The Italians look at the situation and decide to redress their lines. The center command double times forward, and behind it, the left command turns and marches right. |
 |
| The Byzantines decide to ignore that and are following their original battle plan. |
 |
| Ambush revealed, the Byzantines go for a strong left flank attack. |
Turn 2:
 |
| Banners waving, the Italian Knights approach the Byzantine firing line without fear. |
 |
| While their left, now right command continues to march without hindrance. |
 |
| The Byzantines assume the normal shoot and scoot positions. But down the line, the arrows bounce off of Italian armor like a gentle rain. |
 |
| Anon realizes the Byzantine battle plan is a bust, and advances to threaten the Italian left flank. |
 |
| Not a good sign. The entire Byzantine army has a bow, yet only they are taking hits from arrow fire. |
 |
| But still confidence is high. It is just one round. Most of the Byzantine shooters are on line, while half the knights are really two turns from deploying. |
Turn 3:
 |
| The first of the Knight charges. |
 |
| The Italians have 4 shooters, two foot Longbow, and two mounted Crossbow. But they all seem to be effective. |
 |
| Anon's foot command is largely out of position here as the battle is moving away from him. | |
 |
| The Knights rolled long, and the Kataphracts rolled short, and are nearly caught. |
 |
| Throwing caution into the winds, two Kataphracts charge. One is destroyed by a Heavy Cavalry Crossbow, the other does 2 points of cohesion to the Longbowmen. |
 |
| The main Byzantine lines once again line up for a shoot and scoot. And again, they might as well used spitballs. |
 |
| Anon splits his command in three, so to assist without being flanked by lights. |
Turn 4:
 |
| The Italians have their battle line established. The time for the the Byzantines to leave was last turn. |
 |
| Kataphracts are flanked but the Longbowmen only beat their score by 1. |
 |
| Charge and flee. The Knights are avoiding anything that resembles terrain. |
 |
| This time it is the Kataphracts that roll long, to the Knights rolling short. |
 |
| Miscellaneous chicanery on the right. |
 |
| But an opportunity occurs. Kataphracts charge the flanks of the Heavy Knights, while others form a firing line again. But like the previous two turns, no Knights were harmed in the making of this turn. |
 |
| Another Kataphract falls. |
Turn 5:
 |
| The flanked knight has plenty of support, and so his brother knights just move along. |
 |
| More scooting. But more flank opportunities as well. |
 |
| Did you ever have one of those days? |
 |
| The Byzantine position is actually looking good here. It is just the main battle line is moving away faster than the infantry can per sue it. |
 |
| Knights charge. One actually has a hit by arrow fire. This is not going to get any better, it is time for a hail Mary. Two Kataphracts charge, between a disordered Knight and Light Horse support, the fights are even. |
 |
| And that is how the dice fell. Dead even. |
 |
| The Byzantines manage to use their speed and maneuver to their advantage. They score two hits on the hanging knight. The Kataphract in the Gully has ZOC'ed a Knight. While the remaining two Knights do not want to go in the field where their speed will be reduced to 2. |
 |
| Anon's Infantry cause an Italian Light Horse to flee, and catch the Longbowmen. But fail to damage it. |
Turn 6:
 |
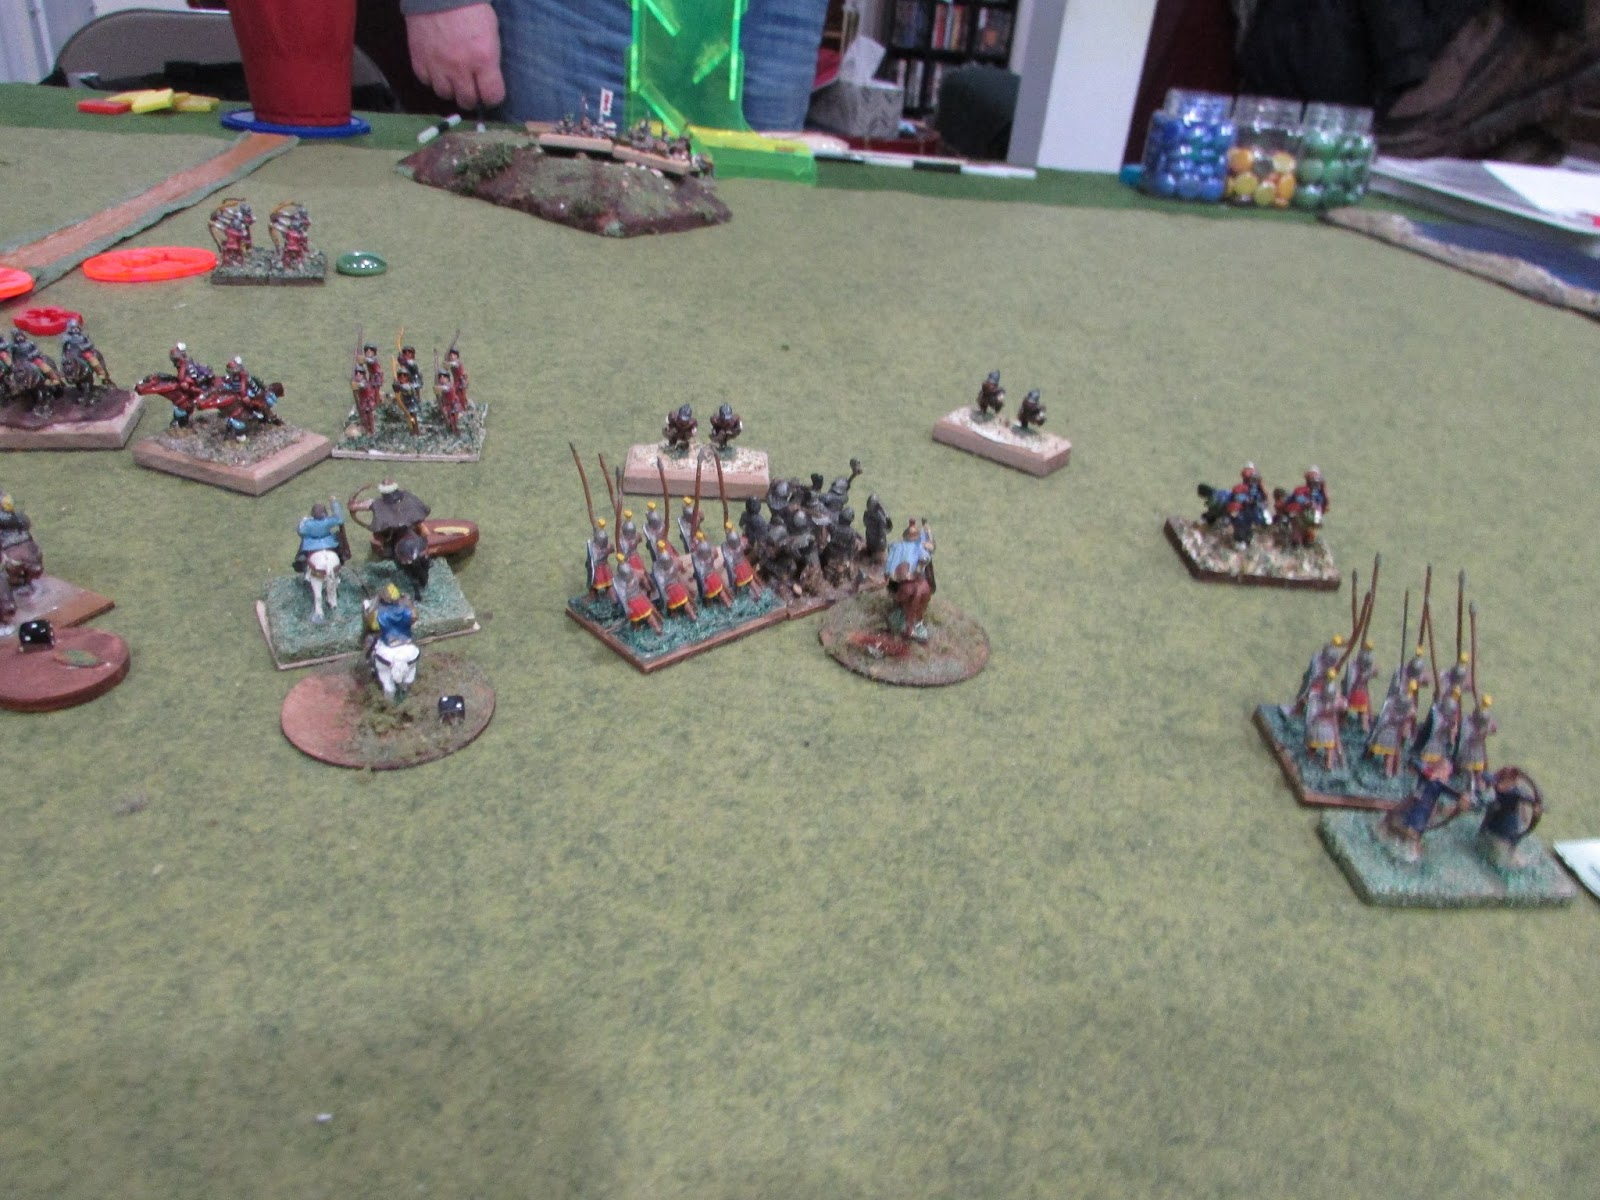
| Anon's other Heavy Spear unit, is just hanging out, catching arrows. |
 |
| The Byzantine Generals are all in, trying to make something happen. The Italian Knights pull in their other units to save their damaged Knight. If it fails, the Byzantines will be able to charge and flank all the other Knights. |
 |
| The Italians efforts are effective, as the Byzantines take a hit. |
 |
| The Byzantines have one more chance here. |
 |
| But not here. the Hail Mary pass has failed. |
 |
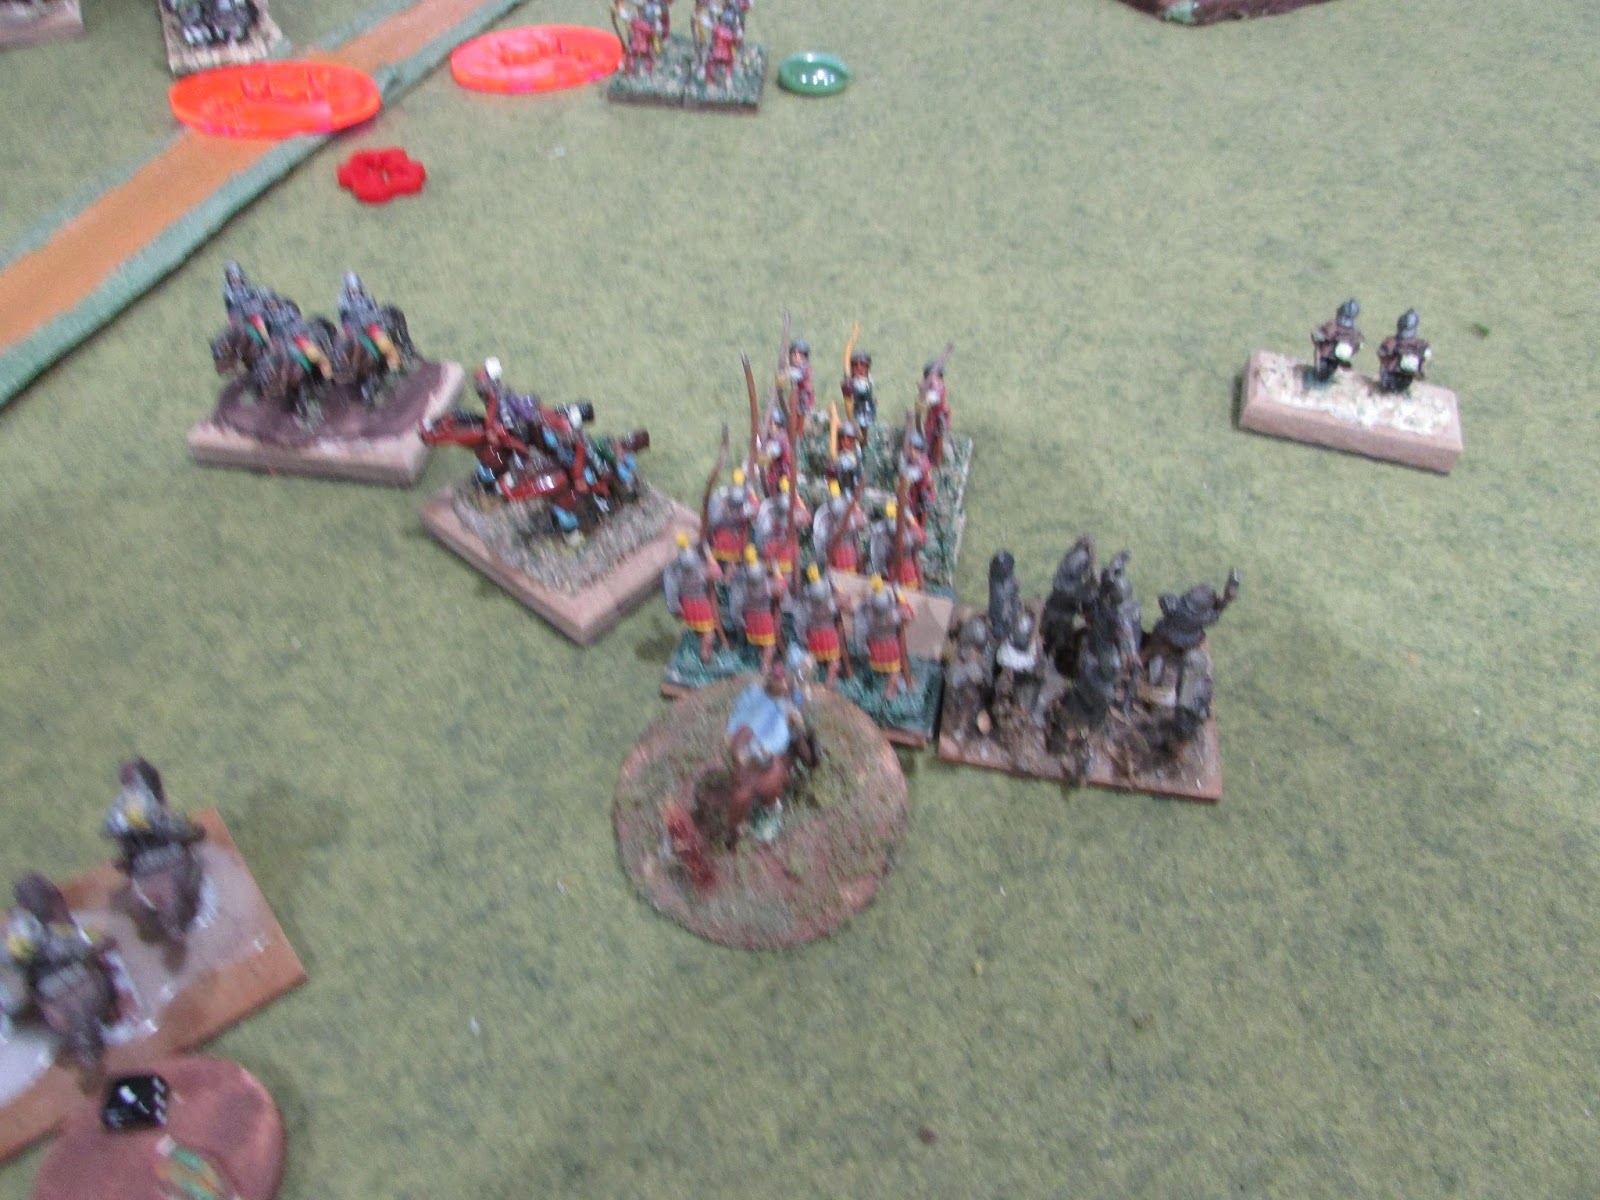
| Another Kataphract has a flank shot on a Knight. And scores, but too late to save his brother Kat, taking a general with him. On the right, Anon manages to destroy the Longbow. |
 |
| The Byzantine left command has been wiped out. |
With that, is the end game. The score is 19 - 7, An interesting, but not even close game. It is a great lesson on adapting your battle plan after deployment, as Kevin did.
What went wrong? The Byzantines basically lost on deployment. Knowing the knights would focus on the Byzantine right, and going for a left punch of their own. The Byzantines put their two cavalry commands together and gave the Italians a gift, of a smaller frontage to push their knights. The Byzantines would have done better with a cavalry command on each wing, spreading the knights out. When they did spread out in the end, there were opportunities for flank shots, they were not totally ineffective either.
Just looking at the last shot. The there is a Kataphract flank shot available, followed up by another. The Skutatatoi can turn 180 unimpeded and trap a Light Horse. The potential was here for another 7 points or so.


Great report Phil. Really enjoyed it thanks
ReplyDelete