A Headless Body Production
Venue: Walt's house
Event: Weekend at Walts
Armies: Germans played by Phil Gardocki
Marian Romans played by Mike Kennedy
Game System: L'Art de la Guerre, 200 points per side.
Theme: Open
This is the first round of L'Art de la Guerre at Walt's house, April, 2017.
Scenario: Random draw.
The Forces:
Germans The commanders Arminius the Strategist, Darryl (Allied and Ordinary), and Darryl (just ordinary)
15 Medium Swordsmen, impetuous, elite
1 Light Infantry Javelin
6 Medium Cavalry, elite
Break point, 22
Marian Roman
Marius (strategist) plus an entourage.
8 Heavy Swordsmen, Armor
2 Heavy Spearmen, Armor, elite
4 Light Infantry, Javelin
2 Light Infantry, Bow
2 Light Cavalry, Javelin
3 Medium Spearmen
Break point, 22
The Board:
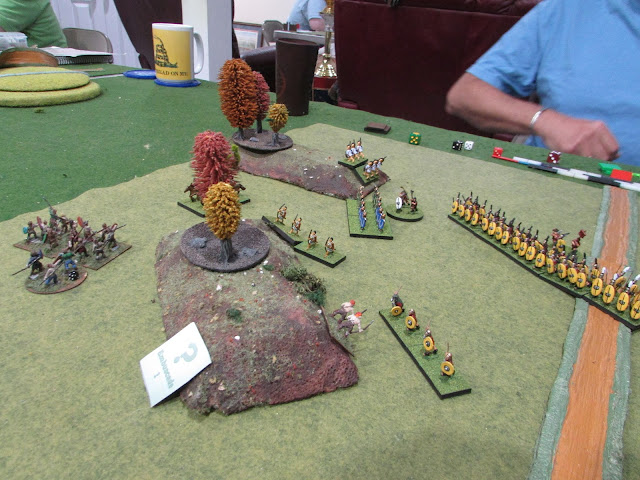
The Germans win the initiative roll and elect to receive in the forest. They select 2 forests, and two forested hills. The Romans selected a coastal, which failed, then opted for an impassable and a road.
Deployment:
 |
| Both sides went for a strong left side of the board. Ignoring the right. Arminus takes advantage of his strategery and lays 3 ambushes on the board. This is all that is visible to the Romans. |
 |
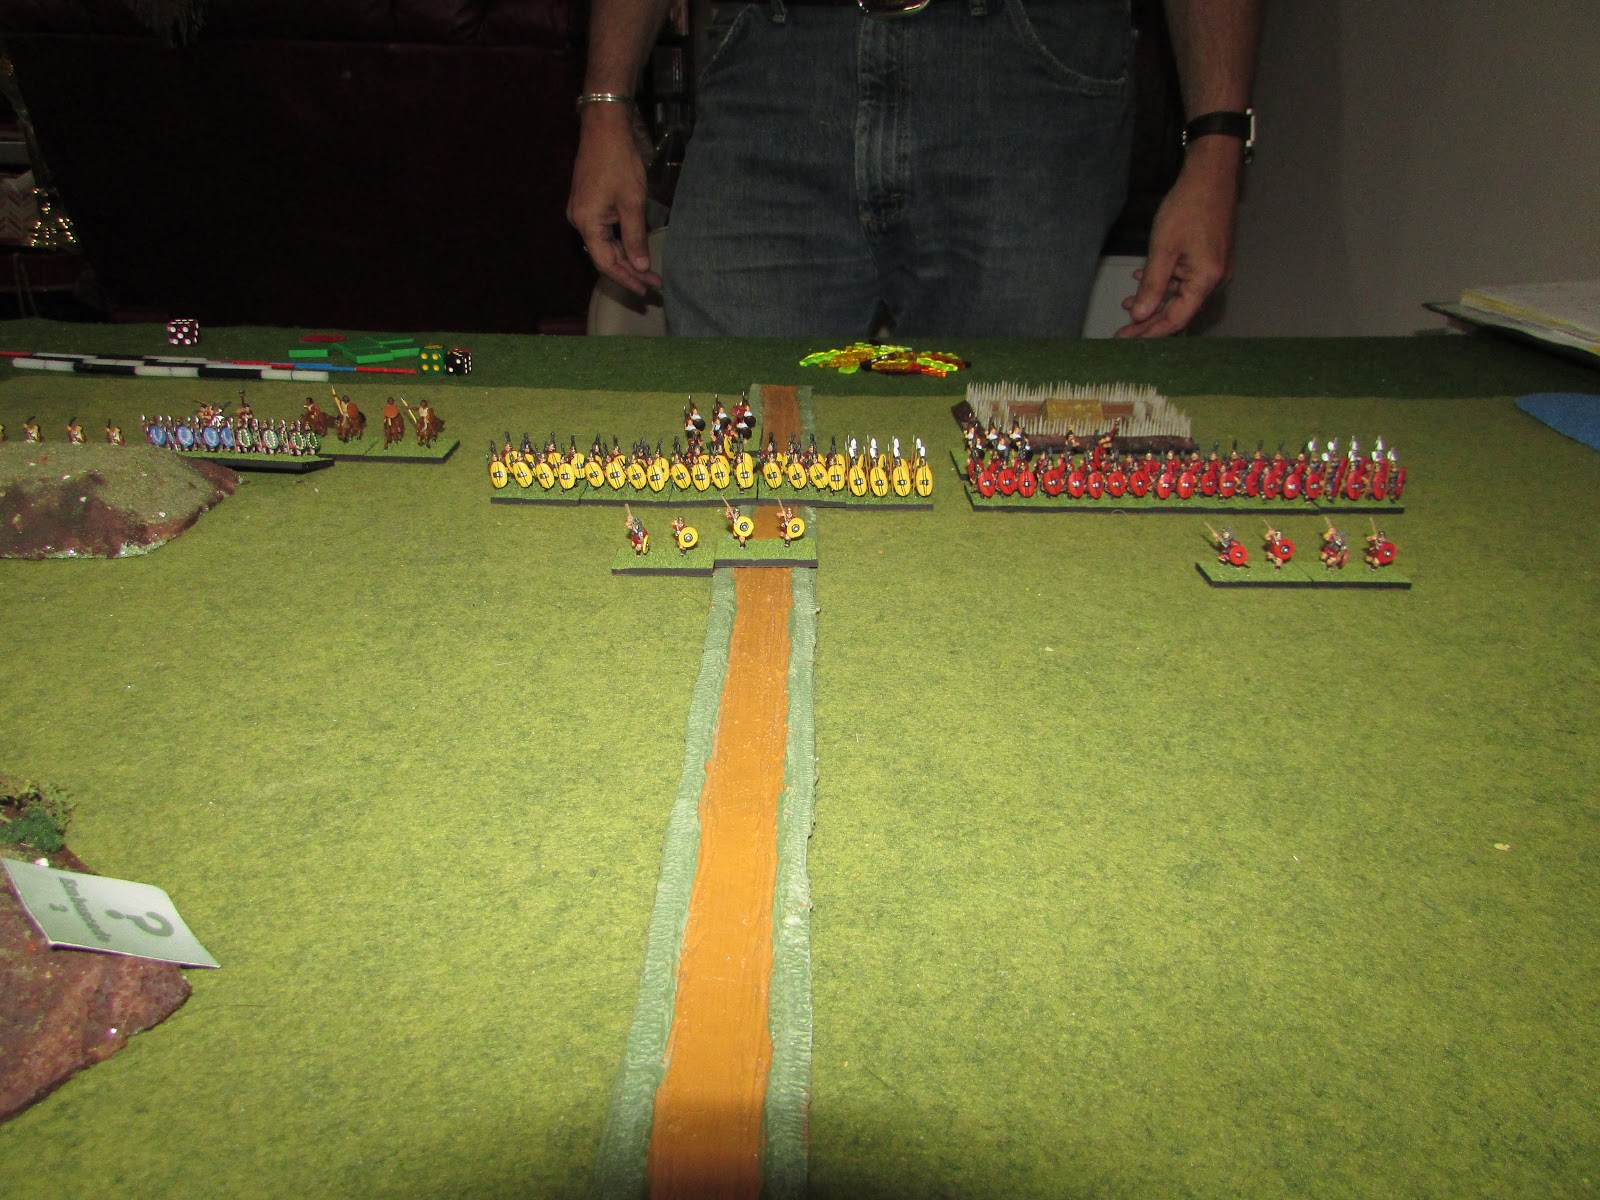
| Marius's deployment is solid, if unimaginative. |
 |
| Arminius has two commands deployed, and a lot of troops missing. |
Turn 1:
 |
| Marius's Lights race across the board. He is pretty sure there is a flank march, and pretty sure it is on his right flank. |
 |
| Marius's Lights spread out to cover all the terrain and ambushes. |
 |
| An interlude as the great god Bacchus slips in for a pix. |
Rolling for the flank march, nothing is seen in the distance.
 |
| Arminius keeps things guessing by not revealing his ambushes. He personally leads two warbands to the left of the hill, while the other warband just advances enough to slide into position. |
 |
| The thought here was to fight the Roman left, while entertaining the Roman right. But mostly wait for the flank march which is composed of 6 elite cavalry to surround the formations. |
Turn 2:
 |
| The first ambush is revealed, just a couple of red headed boys with sticks.. |
 |
| The Roman Velites rush the woods. I realize there is a danger here as I have the ambush marker canted. The intention is to have the warbands pointed to the right in case the threat was there. But this means that if Mike trips the ambush, I'll have to deploy the warbands behind the ambush marker, and possibly lose them because they couldn't be deployed. |
 |
| The rest of the legions care not. The air fills with the staccato of the rhythmic march of their hob nailed sandals, they continue to march on. |
Sharp eyes detect no movement in the distance. The flank march will not be arriving anytime soon.
 |
| More ambushes are revealed, as the warbands on the far side of the hill
advance. Arminius's personal troops run off the Numedian Light Horse. |
 |
| The last ambush is triggered. The Germans charge the Velites, who surprising, stand their ground. I learned a lesson, just because you can fight in the woods, doesn't mean you should. The Germans do not get impact or furious charge as they are fighting in terrain that gives them a minus in combat. The resulting fights go one and one, with each side taking a hit. |
 |
| Just side shot view. |
Turn 3:
 |
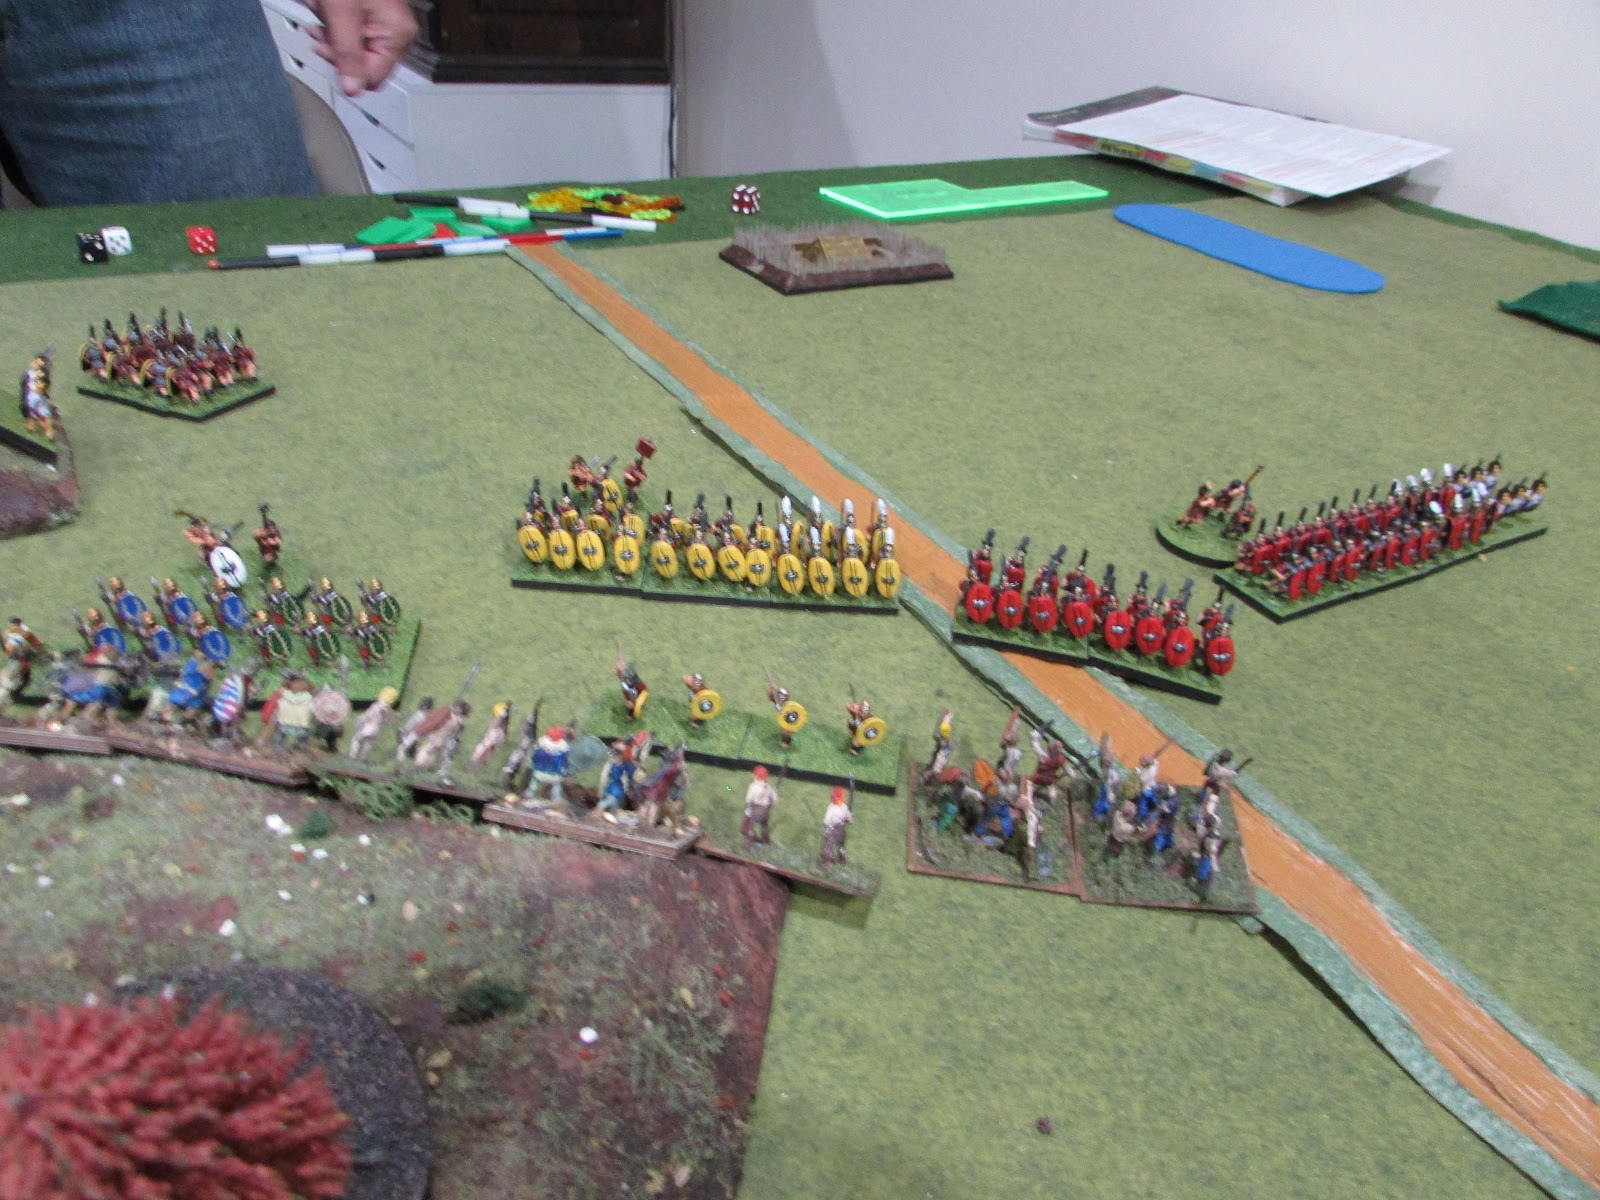
| The Romans have peeled off a couple of maniples, and some medium foot to deal with the flank march. They also approach the wooded hill and pin the Germans in the zone where the Germans will suffer all the penalties for the woods, while the Romans Auxiliaries will not. |
 |
| The Red Legion peels off some troops to reinforce the Yellow. |
 |
| The Velites have done their duty, and break off. |
Sharp eyes detect no movement in the distance. The flank march will not be arriving anytime soon.
 |
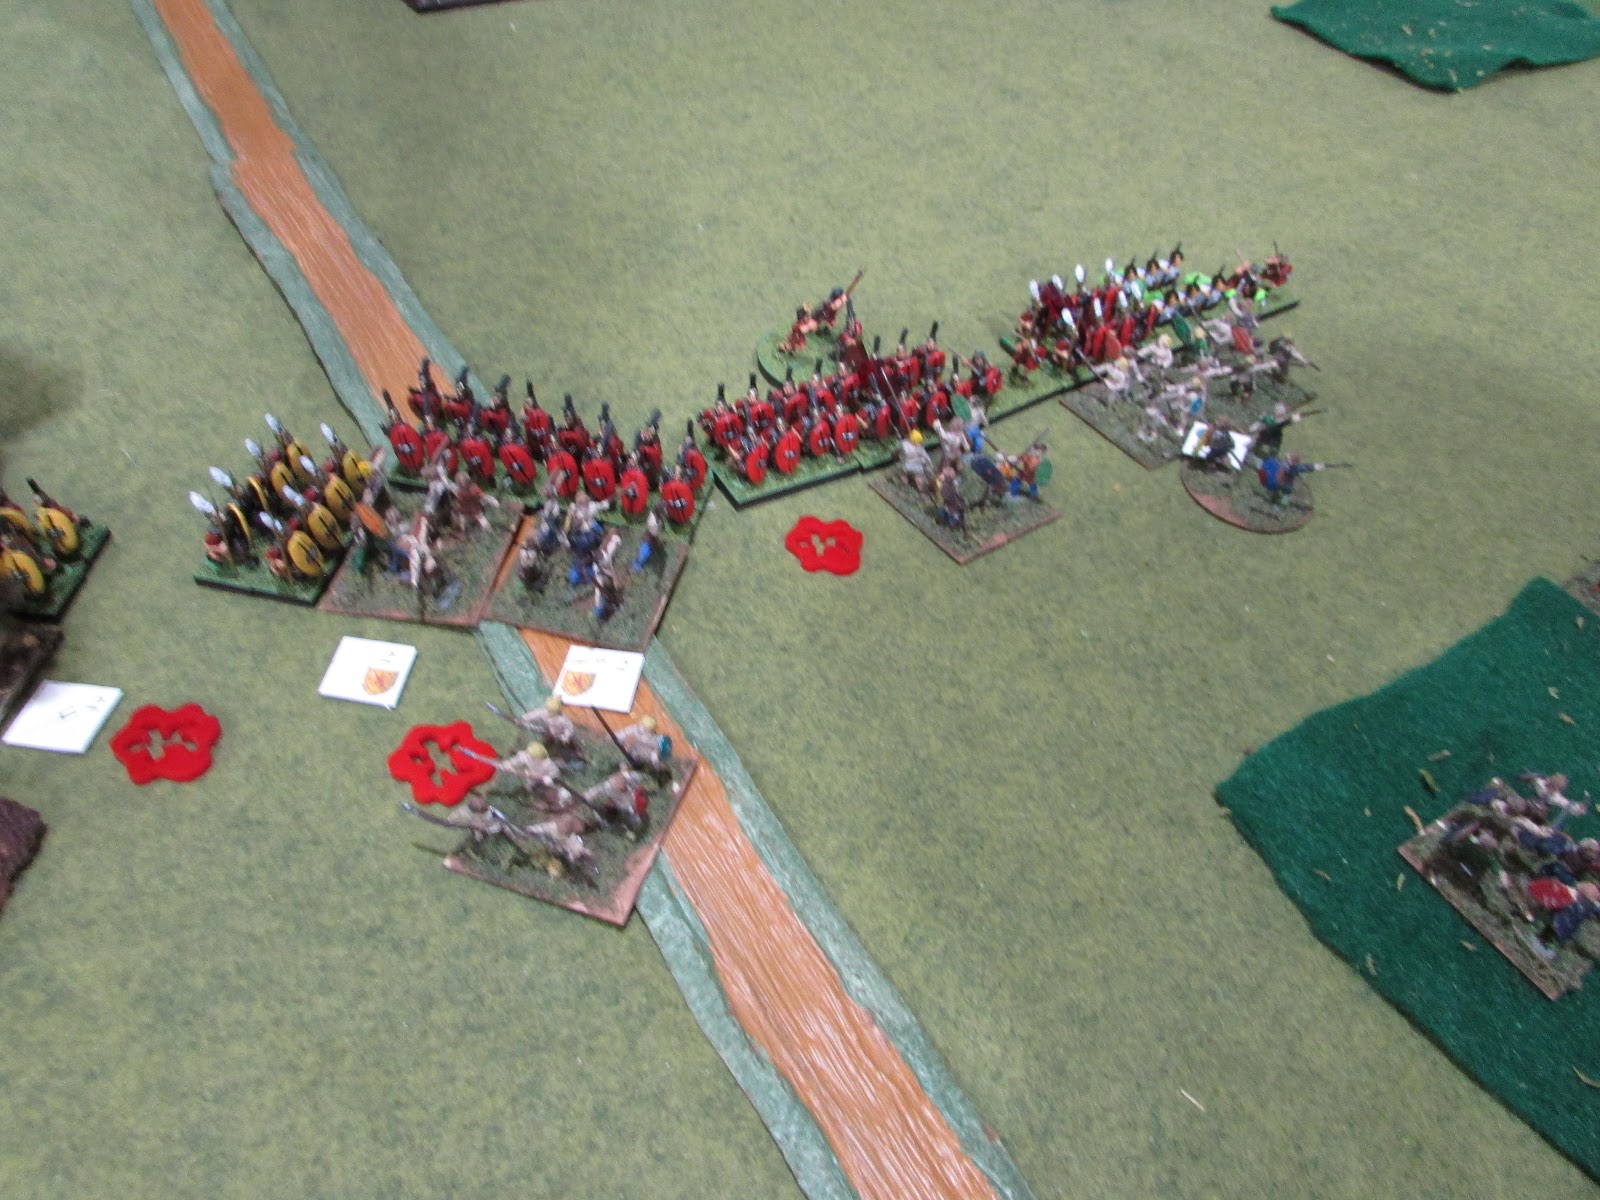
| The charges start. The Germans are still in the woods, and so do not get Impact or Furious charge, but still win the dice off's damaging the Roman Auxiliaries. |
 |
| Even where the Germans get their full wind up, they lost one and tied one. The bloody spot is a destroyed German Light Infantry. |
 |
| The warbands in the woods have had their formation fragmented, and cannot recover their order as they are impetuous and must charge the Velites. |
Turn 4:
 |
| The pressure increases, another warband takes a hit. |
 |
| In the battle for the hill, an Auxilla is destroyed. but the Yellow Legion has engaged warbands at an optimum position. |
Sharp eyes detect no movement in the distance. The flank march will not be arriving anytime soon.
 |
| They may have a fragmented formation, but rolling 6's forgives a lot of ills, as the warbands win 3 out of 4 fights. |
 |
| On the German left, the Arminus's men are largely coming in second place. |
 |
| One Velite is trapped and killed. Otherwise, the war bands are mostly damaged, and almost at their break point. |
 |
| If Darryl could muster a couple of command points, he might get reinforcements in the fight that can push the Romans over the line here. |
Turn 5:
 |
| The Yellow Legion turns right and flanks a German warband. |
 |
| A Maniple of the Red Legion honestly destroys their opponents by just skill and brute force. |
 |
| The battle for the hill rages on. Neither side has the advantage. |
Dust on the horizon. Darryl's horse command is in sight!
 |
| On the German right, a Maniple is destroyed. More Warbands exit the woods, but are not in line yet. |
 |
| A Warband falls, presenting a problem for an impetuous warband on where it can impact. |
 |
| On the hill another Auxiliary falls as well. Turning the Roman Yellow Legions flank. |
But those victories were too late. Because the flank march had not arrived, the German break point was still 16, and they had just hit that point, causing the Infantry Commands to retreat, even as the Horse Command had just arrived. A convincing win for Marius, 16 - 8.
There are a 1000 lessons in defeat, and not one in victory. My first outing with the Germans was a success, and that was against a Macedonian Pike army. I went into this fight vastly over confident.
I thought the wooded areas would be my friend, they were not. Mike was really good at forcing fights where my advantages were gone. I was hoping the flank march would show up earlier than it did. Even when it did show, the Romans would have had it well bottled up.


Enjoyable and educational account. Thanks for posting. Your ADLG narratives are always interesting.
ReplyDeleteThanks for commenting back. It is very helpful with the motivation to continue.
ReplyDeleteNo trouble at all Mr. Gardocki. Apologies for not doing so earlier and more often with your previous ADLG adventures. Can appreciate the point about motivation . . . I find myself debating the merits of continuing a To the Strongest! scenario at the moment. This is - or perhaps was - a warm up to Battle Day 2018. Anyway.
ReplyDeleteLooking forward to your next picture-heavy portrayal of ancient warfare.
That would be Picts Under Siege. I'll be posting it Friday(ish) Early Vikings attacking Pre-Brexit Scotland:)
ReplyDelete