A Headless Body Production
Venue: An Undisclosed Community Center
Event: Our continuing series of battles themed on the Norman Conquest*.
Players: Phil Gardocki, Garth Parker running Normans
The team of John, Bruce and Steve running Welsh
Game System: L'Art de la Guerre, 15mm, 300 points per side.
*Not the Britcom staring Penelope Keith
The Forces:
Welsh, in the year 1070
The Welsh commanders, Rhys*, Lewellyn, Gryffud and Eric (Allied Viking) are all Competent
12 Warriors, Medium Swordsmen, 6 are Elite
4 Javelinmen
4 Light Infantry, Bow
6 Nobles, 1/2 Heavy Cavalry, 1/2 Medium
4 Light Cavalry, Javelin
2 Huscarls, Heavy Swordsmen, Armor, 2HW, Elite
3 Warriors, Heavy Swordsmen, Missile Support
3 Warriors, Heavy Swordsmen, Missile Support
2 Scouts, Light Infantry, Bow
Breakpoint of 40
The Normans, also in the year 1070
Commanded by William the Conqueror, née Bastard, a Strategist. Eustace, the Count of Boulonge, the Brilliant, Robert, the Count of Mortain, the Ordinary and Odo, the Bishop of Bayeux, yes, that Bayeux, the Ordinary.
12 Medium Knights, Impetuous, all Elite
10 Heavy Spearmen, 6 are Elite, 5 have Armor
4 Bow and Crossbow men.
Breakpoint 26
I don't think this is planned at all, but new armies are hitting the table, and the time frame is right for a series of battles in merry old England. Harold Hadrada won at Stamford Bridge, William the Bastard won at Hastings, and this one will be the Norman conquest of Wales, and upcoming soon will be Scotland.
**Pronounced Reese. For my entire life I though it was pronounce as ryes, as in the bread.
Display Conventions: When you see a word bubble like "Ouch!" or "O y Poen!" or "Douleur!", this implies a disorder from missiles. Letters in parenthesis represent some value change for the specific unit. For commanders it is s for strategist, b for Brilliant, c for Competent and o for Ordinary, u for unreliable. For troops it is e for Elite, and m for Mediocre. Other abbreviations, Hvy Heavy, XB Crossbow, LB, Longbow, Jav Javelin, 2HW 2 Handed Weapons, B Bow, Kn Knight, HKn Heavy Knight, HC Heavy Cavalry, Md Medium, Sgt Sergeants, LC Light Cavalry, Chr Chariot, Cat Cataphract, Pa Pavise, LI, Light Infantry, HG Hand Gun, FKn Foot Knight, Hvy Spear, Heavy Spearmen.
Commanders are rated s for Strategist, b for Brilliant, c for Competent, o for Ordinary and u for Unreliable
Inappropriately capitalized words are used to highlight terms that are specific to the game. For example Brilliant, Competent and Ordinary have specific game values for the commanders.
"XX" implies a unit killed in that location on that turn.
The Board:
The Normans win the initiative and elect to attack in the plains.
Deployment:
 |
| The Welsh selected both a gully and a plantation which covered their right flank. But William rolled a '6' on the terrain adjustment phase, and the gully disappeared. |
 |
| One surprise for the Normans, the Welsh managed to hire a large contingent of Viking heavy foot. |
 |
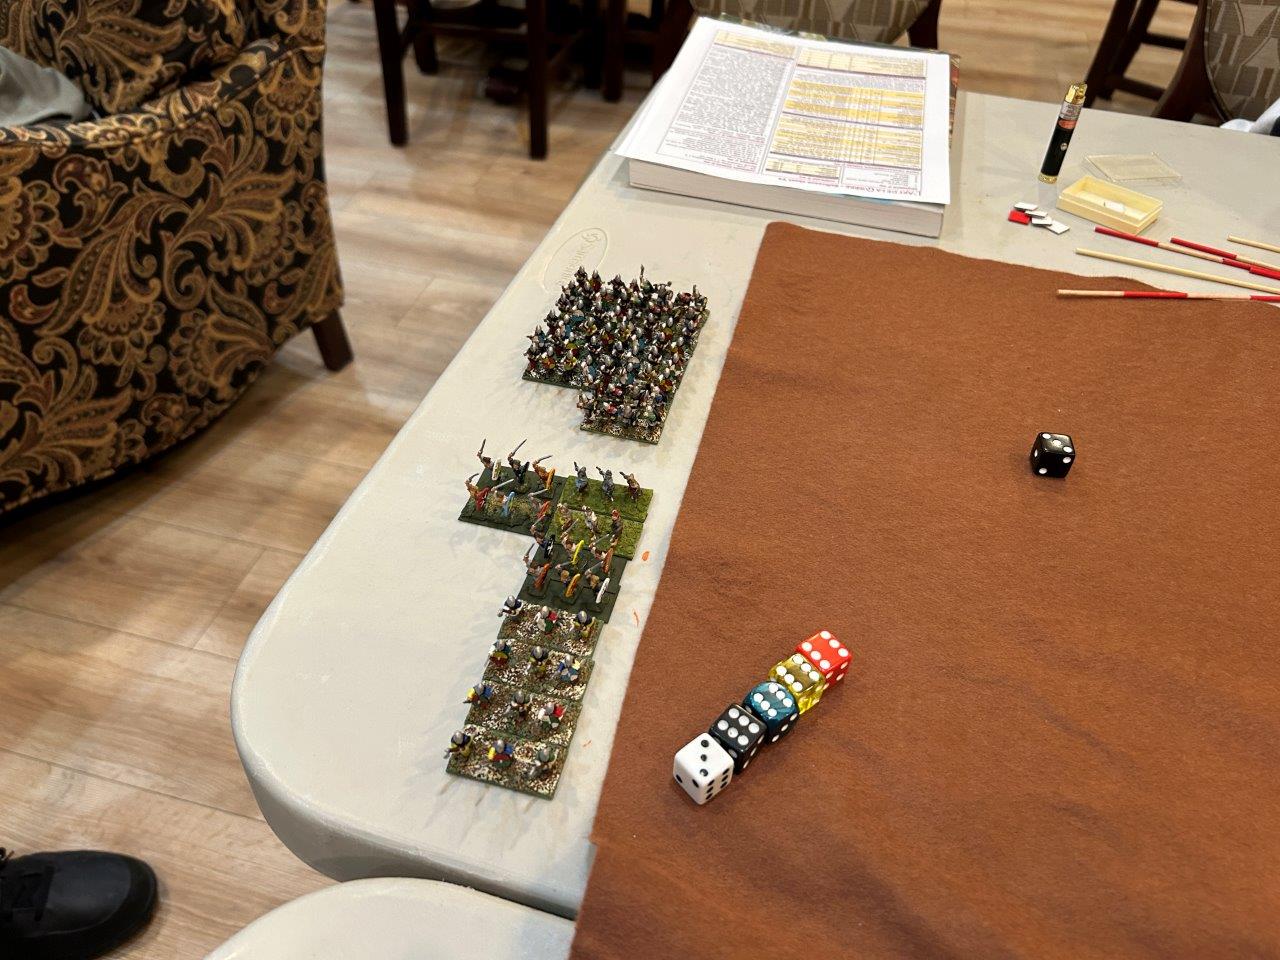
| The deployed Welsh haven't reached their minimum number of warriors, 9 for a 300 point game, of soft medium swordsmen. But it isn't hard to guess where they are. |
 |
| The Normans originally were going to deploy the infantry in the center, knights on the wings, but at the last minute decide to just charge right down the middle. |
The decision had less to do with strategy, but more to do with the clock. Trying to get a 300 point game, 5 players, in 3 hours, the Normans figure it was do or die.
 |
| The force of Welsh horsemen are faced by armored, elite spearmen, supported by bow. Not a good match-up for the Welsh. |
 |
| The newly acquired Breton Spearmen have excellent shield patterns. |
 |
| The knights are all well painted as well. |
 |
| The view from the Welsh side of the board. |
Turn 1:
 |
| Robert orders his spearmen to approach the plantation. |
 |
| William and Eustace's knights advance as fast as abled. Eustace's have to hold up as they are at 4 UD's from the ambushes in the plantation. |
 |
| The Bishop of Bayeux advances with his foot. |
 |
| A general advance by the Welsh and their allies. |
 |
| Their horse sends a single troop of scouts to slow down Bishop Odo's foot. |
Turn 2:
 |
| Robert's spear reveals one of the ambushes. 3 Medium Sword and a Javelinman. |
 |
| Eustace's knights canters to charge reach. |
 |
| William's knights advance as well. |
 |
| The Bishops troops do a rumble step forward, seeing the Welsh scouts off. |
 |
| The Welsh take the initiative and pour out of the plantation. Robert's spearmen are taken back by this aggressive behavior, which is reflected by a series for poor die rolls. |
 |
| The bravery did not extend to the swordsmen in the field. They adjust their lines, but only advance a little. |
 |
| Eric's Huscarls did get the word on caution and charge forward! William's knights raise an eyebrow at this, set lances, and counter-charge! Most of the Viking warbands are disordered. |
 |
| Not seeing any percentages in advancing, the Welsh horse bide their time. |
Turn 3:
 |
| Roberts heavy foot are failing under pressure. |
 |
| Eustace's knights are unconcerned by the Welsh foot behind their flank, and charge. |
 |
| The Viking allies are failing fast. |
 |
| Bishop Odo's spear plodder on. |
 |
| Rhy's warriors have totally crushed Roberts spear, and are looking to clean up the remains. |
 |
| But their victory is not enough to compensate for their losses in the center. |
 |
| The Welsh horse tentatively push forward. |
 |
| On the sideline, the Norman losses are 11 of 26 |
 |
| The Welsh are at 21 of 40. |
Turn 4:
 |
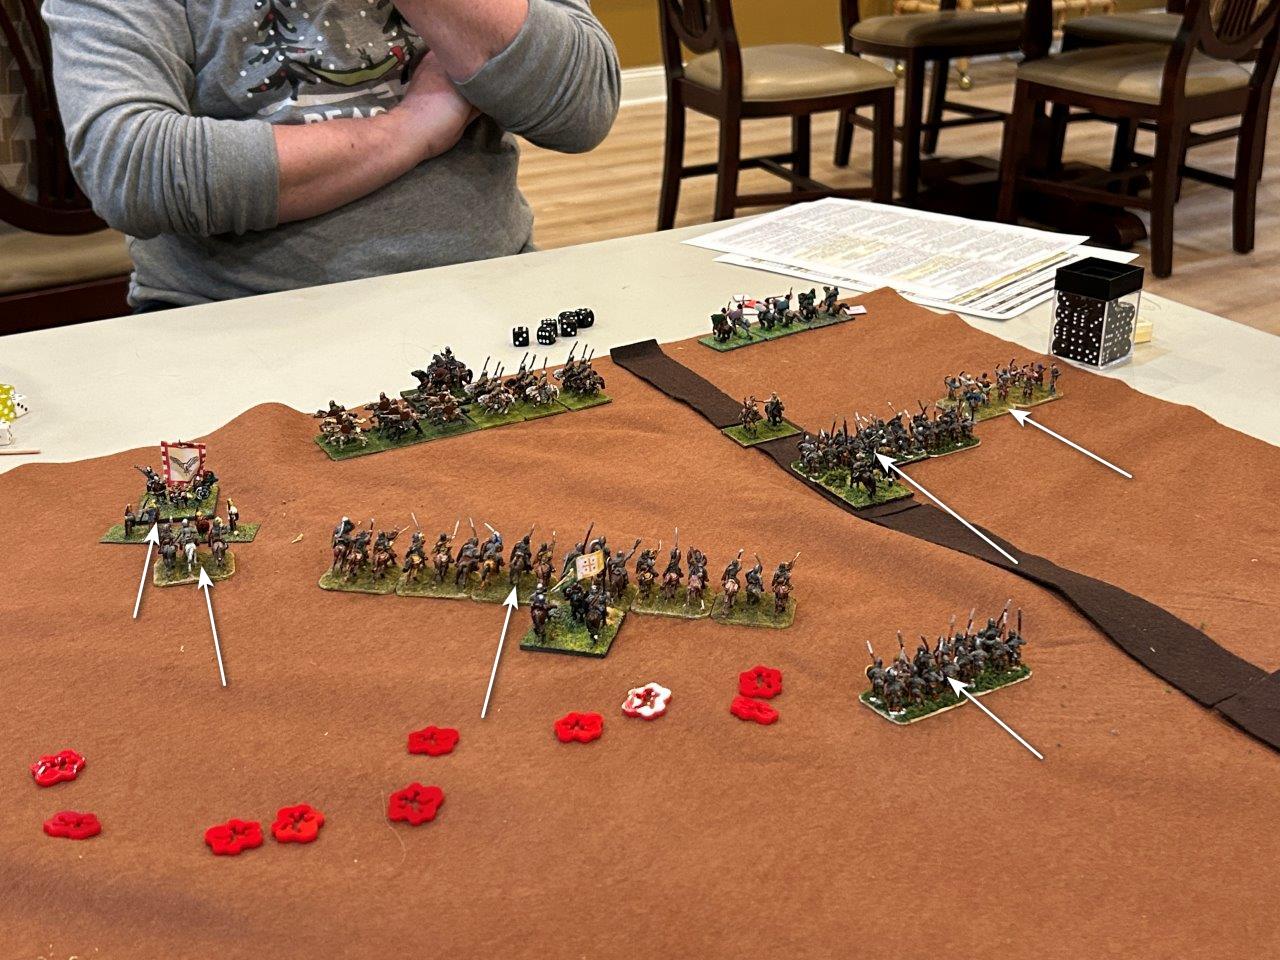
| Robert has only one unit not at risk of being destroyed. He calls it back, see upper right arrows, to face the Welsh horde. |
 |
| Eustace's knights are cleaning up their opponents. |
 |
| While William is down to a single warband of Viking sword. |
The problem here is the knights are both slow, with a movement of 3 UD's, and Unmaneuverable, and cannot redeploy easily to deal with the flanks.
 |
| The score is Normans 12... |
 |
| To 27... |
 |
| Rhy's forces surround the last Norman crossbowman, which miraculously holds its ground, destroy a Breton spear, and send raiders off towards the Norman camp. |
 |
| Their center battles destroyed, the Welsh are limited to distracting and delaying the Norman knights with a few light foot. |
 |
| On the far flank, the Welsh horse break off. |
Turn 5:
 |
| Robert, Count of Mortain, middle right, awaits the onslaught with his only remaining force of spear. |
 |
Eustace, the Count of Boulogne, sends a troop of knights to support the beleaguered count. While his personal knights chase off the Welsh light foot.
|
 |
The Bishop of Bayeux advances, keeping the pressure on the Welsh horse.
|
 |
| Rhys organizes his men in a quick fashion, and they pour onto the Norman flank. |
 |
| The Welsh horsemen continue to pull back |
 |
| A raiding warband double times it towards the Norman camp. |
 |
| They have lost a lot, but at 28 of 40, but there is plenty of gas left in the Welsh tank. |
 |
| The Normans are at 15 of 26. Even with the camp being sacked, they will be at a comfortable 21. |
Turn 6:
 |
| Roberts flank is turned, but help is on the way. Eustace disengages a knight from the front line, and has another in charging the head of the column of Welshmen. Another knight, tired but willing, is approaching. |
 |
| Williams and the Bishops forces hope to trap the Welsh horsemen in a pocket. |
 |
| The view from above. Roberts last spear holds. The head of the Welsh column is routed by knights, their fleeing survivors disordering their compatriots behind. |
 |
| The Welsh horse are way too agile. It looks like they will evade the Norman trap. |
Turn Last:
The clock is running down, so this will be the last turn.
 |
| With a successful rally of his remaining spear, and pursuing knights, it looks like the Count of Mortain will be saved. |
 |
| And while the Welsh horse are largely intact, we believe they will be pushed off the board in a turn or two. |
 |
| The Norman-American camp falls. |
 |
| Taking the Norman count to 21 |
 |
| The Welsh payed a heavy price at 37. |
So what went wrong?
For the Welsh, luck failed them at a critical moment at very the beginning, they wanted to place a coastline and a village, both of which failed to materialize. What they got was a plantation and a gully, only to have the Normans remove the gully on the adjustment phase.
If even one of those had been kept, the game would have been very different. As it would have forced the knights to attack on a narrower frontage. And the vikings, all heavy sword, some with missile support, could have held for a bit longer while the mass of swordsmen could deal with the spearmen with superior numbers. Remember, the knights may have been neigh on invincible in this game, but the spearmen were not, and the break point of the Normans was just 26 compared to 40. And even when the Vikings were defeated, at 18 points, is less than half the overall Welsh demoralization level.
But luck did turn the other way. When the Welsh surged out of the plantation, the Norman spearmen all muffed their rolls, and were put on their heels quickly, and then destroyed in short order.
And while it seems like the vikings made a mistake in charging the knights on turn 2, giving up their missile support advantage, they did gain the overlap advantage for that turn. It was not enough of an advantage as it turned out. But I'll also note, only 3 of the viking swordsmen had missile support, so not a total loss there. If they had not charged, the Normans would have charged the Welsh medium foot first, holding back William's command, and the vikings would have been flanked before contact.
On the Norman side, they had almost no flexibility in their list. They are great anti cavalry with their knights, and their spear are also good anti cavalry. But the list could have benefited with some lights. With just one light horse per knight command, Eustace s force could have raced for the Welsh camp and sealed the deal with 6 more points.
A couple of light foot per spear command would have served to absorb early missile fire as well, and be used to trip the ambushes, instead of the spear and bowmen getting to close to do the job.
The cost of 6 lights would have been two spear and one knight. And would have served to bump the Norman demoralization level to 29 points.