A Headless Body Production
Venue: An Undisclosed Basement
Event: Playing a game for the camera
Players: Phil running Thematic Byzantine
John Doe running Ottoman Turk dressed in drag
Game System: L'Art de la Guerre, 15mm, 200 points per side.
It is Sunday afternoon, and the back yard work is done. The privet hedge is trimmed,
bulbs have been dug up. Time to head to the basement for some miniature
action.
The Forces:
Ottomans (list 251) I have no Ottomans, but the Samurai were out for tomorrows game, so they will have to do.
Commanders, 2 Brilliant and one Competent
6 Sipahis, Heavy Cavalry Bow
2 Syrians, Heavy Cavalry Impact
4 Akinji, Light Cavalry Bow
2 Bedouins, Light Cavalry, Impact
4 Janissaries, Medium swordsmen, Bow, Elite
2 Azab Bowmen
1 Light Infantry, Bow
Breakpoint of 21
Thematic Byzantine (list 127)
Commanded by Nikephoros (the younger), Brilliant, Pumaphoros, also Brilliant, and Adidasphoros, the Ordinary, and somewhat Unreliable.
12 Thematic Kataphractoi, Medium Cavalry, Impact and Bow
4 Cursors and Alans, Light Cavalry, Bow
3 Skutatoi, Heavy Spearmen, Missile Support, Mediocre
2 Light Infantry, Bow
2 Light Infantry, Sling
1 Light Infantry, Javelin
Breakpoint of 25
The Board:
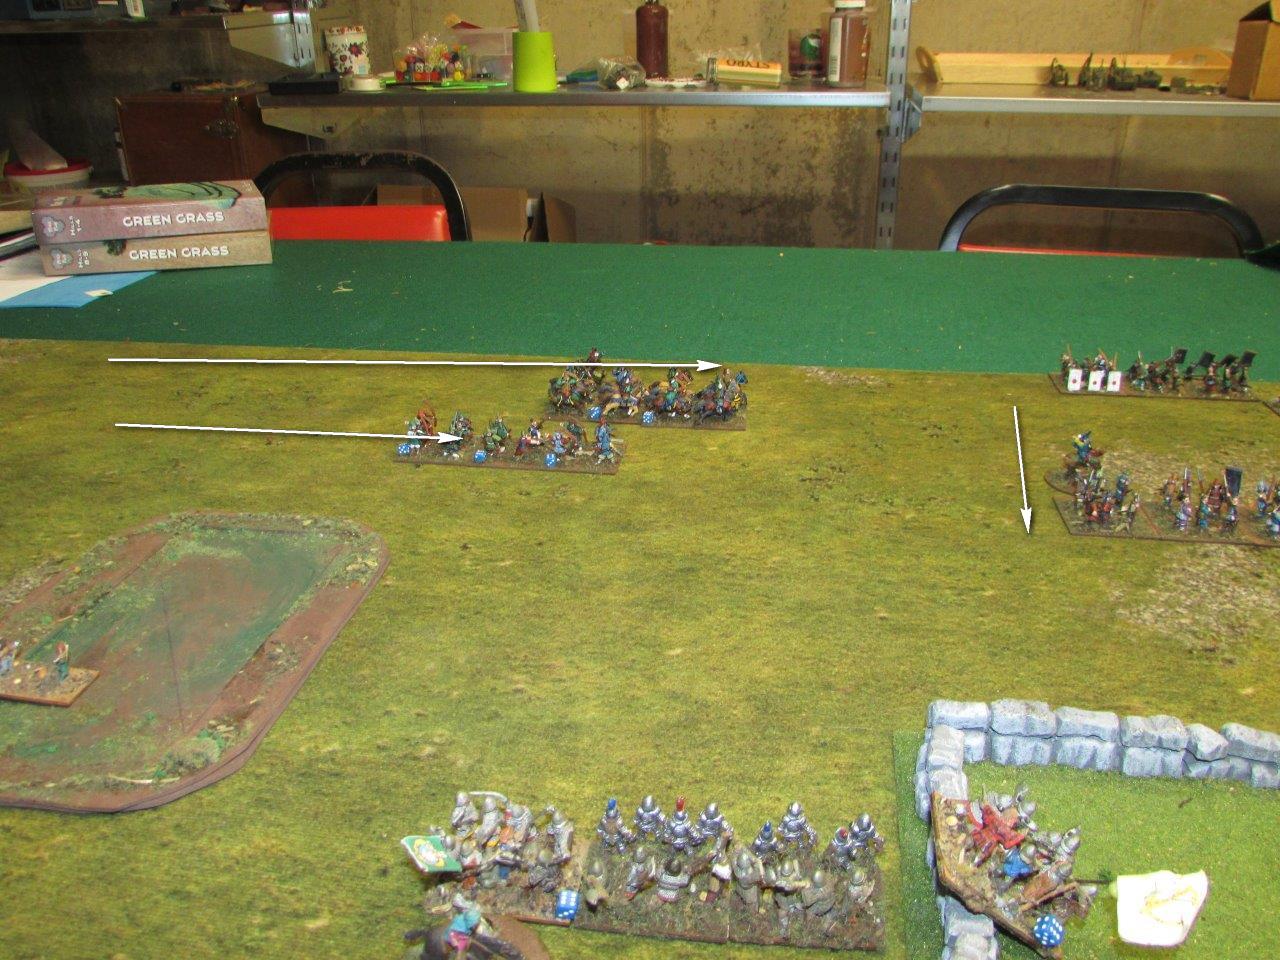
The picturesque River Danube anchors the Byzantine right. Nikephoros wins the initiative and elects to attack in the plains. The Ottomans select a village and a field. The positioning is perfect for restricting the board down by 40%. Not allowing much room for the cavalry to maneuver.
The gap between the field on the left and the field on the right is around 11 UD's.
Deployment:
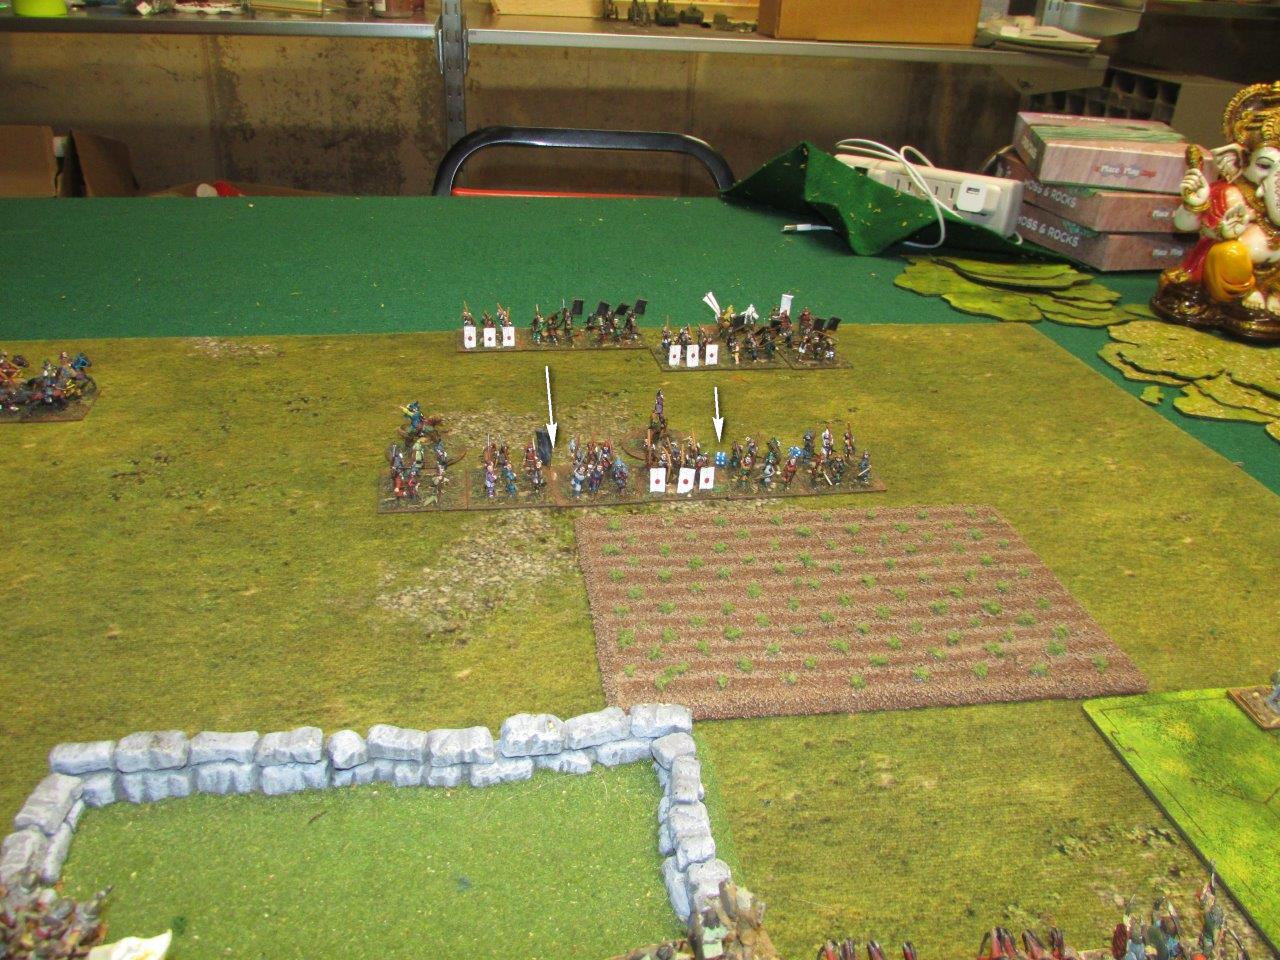
The Ottomans have two identical cavalry commands, each with 4 heavies and 3 lights, led by a brilliant commander.
 |
| They are deployed hub to hub |
 |
| And mirror images in deployment. |
 |
| The Janissaries are deployed to invest the field. |
 |
| The Byzantines deploy a "micro-command" on the right. |
 |
| And also have two nearly identical commands of mixed cavalry and foot. |
 |
| The Byzantine line is some 14 elements long, the open space is only 11 elements wide. |
But the open space is even narrower. The Janissaries are bow armed and elite, and project 4 UD's from the field. The Byzantines also have bow, but are not elite, and cavalry is more vulnerable than foot, so it is a very bad matchup.
Effectively the Ottomans have totally removed the Byzantine numbers advantage 25-21 units, 16 shooters to 14. Now this is down to a quality on quality fight, where the Ottomans have the advantage.
Turn 1:
 |
| Adidasphoros rolls a 1 and goes unresponsive. |
 |
| Nikephoros (the younger) also rolls a 1. He runs his Light Infantry into the field and advances. |
 |
| Pumaphoros also rolls a 1 for command points. |
The Byzantine right advances cautiously. There is no percentages in a shoot out against the Janissaries, so his role is more containme
 |
| The rest of their main line stands eerily quiet. |
 |
| The only motion are the Janissaries, who invest the field and begin quietly emptying their quivers to good effect. |
 |
| Thematic Kataphracts approach to missile range and loose arrows. Their lights advance to cover their flanks. |
 |
| A 1 to 1 trade off. But the Byzantines have more effective shooters, and can do this all day. |
 |
| On the Byzantine right, the Kataphractoi split. One block to threaten the Janissaries if they decide to leave their field, the other to threaten the Ottoman heavies if they should pull any tricks. |
 |
| Skutatoi advances to cover the flanks of the cavalry. |
 |
| The Ottomans are not going to give the Byzantines all day, and order a charge. It's heavies vs mediums, but the mediums are also impact. |
 |
| The result is a mixed. Two Byzantine Kataphracts are disordered. but one Sipahis is destroyed. |
 |
| On the Byzantine right, more charges. The Byzantines lose badly. But their Skutatoi are available to run up and take up the slack. |
 |
| On the far right, nothing much happening. |
 |
| On the river Styx, the score is 4 to 8 in favor of the Ottomans. |
 |
| A view from the sky |
Turn 3:
 |
| The Ottomans have destroyed to Byzantine horse units. |
 |
| Nikephoros (the Younger) makes a nube mistake. He rallies a kataphract to go back into combat, when he should have pushed one into the hole presented earlier. |
That may not have been a game changing mistake, but the score would have been more even.
 |
| On the right, status quo is maintained. |
 |
| The Syrians are destroyed, but the Kataphractoi flank is truly turned. |
 |
| On the right. A Kataphract is flanked and destroyed, the Sipahis pursue and catch an Alan. |
 |
| The score is 6-16. |
Turn 4:
An offer to accept a surrender was placed on the table and declined. The Byzantine player was suffering from delusions of grandeur from those two games last month where he came back from 12-1 deficits to win.
 |
| The Byzantines trap an Akinji, then pursue into a Bedouin On the main line the a Kataphract penetrates the Ottoman line, but too late. |
 |
| Desperate times, desperate measures. The Sneaker brothers are all in, leading from the front. |
A real sign of the situation is that the Ottomans did not feel compelled to match the Byzantines on the front lines.
 |
| The battle is largely lost, time to withdraw the solid troops to cover the wounded. |
 |
| The score is 8 to 16. (the dice are wrong) |
 |
| No longer out numbered, the Ottoman horse begin to turn the flanks everywhere. |
 |
| The Byzantine center, with direct support by their commanders, barely hold. |
 |
| The Ottomans switch to pursuit mode. |
 |
| Ending the game at with a 10-23 win. |
Few battle plans survive contact with the enemy. This one didn't survive camp deployment. The terrain placement was perfect for the Ottomans, denying the Byzantines their advantage in numbers and maneuverability.
Coupled with a commander that played everything correctly. And dice that rolled about even down the line, and it was just a slaughter.
It is worth it to study how the Ottoman player played. From terrain, to deployment, to arraigning local superiority, to removing all the advantages his opponent had. If there was a text book on LADG strategy and tactics, this game should be in it.
The Byzantines only made one or two tactical mistakes, not enough to lose, so the magnitude of the victory was totally on the Ottoman player.